【2026 最新】macOS 上安装 FNM 管理多版本 Node.js 完整教程
目录
一、FNM 简介
FNM(Fast Node Manager)是用 Rust 编写的 Node.js 版本管理器,相比传统的 nvm:
- ⚡ 启动和切换速度快 40~50 倍
- 🖥️ 跨平台(macOS / Linux / Windows)
- 📄 支持
.node-version和.nvmrc自动识别 - 🪶 内存占用极低
二、前置条件
| 条件 | 说明 |
|---|---|
| macOS 版本 | macOS 10.15+(推荐 12+) |
| Shell | zsh(macOS 默认)或 bash |
| Xcode CLI Tools | xcode-select --install(一般已预装) |
| Homebrew(可选) | 推荐提前安装 |
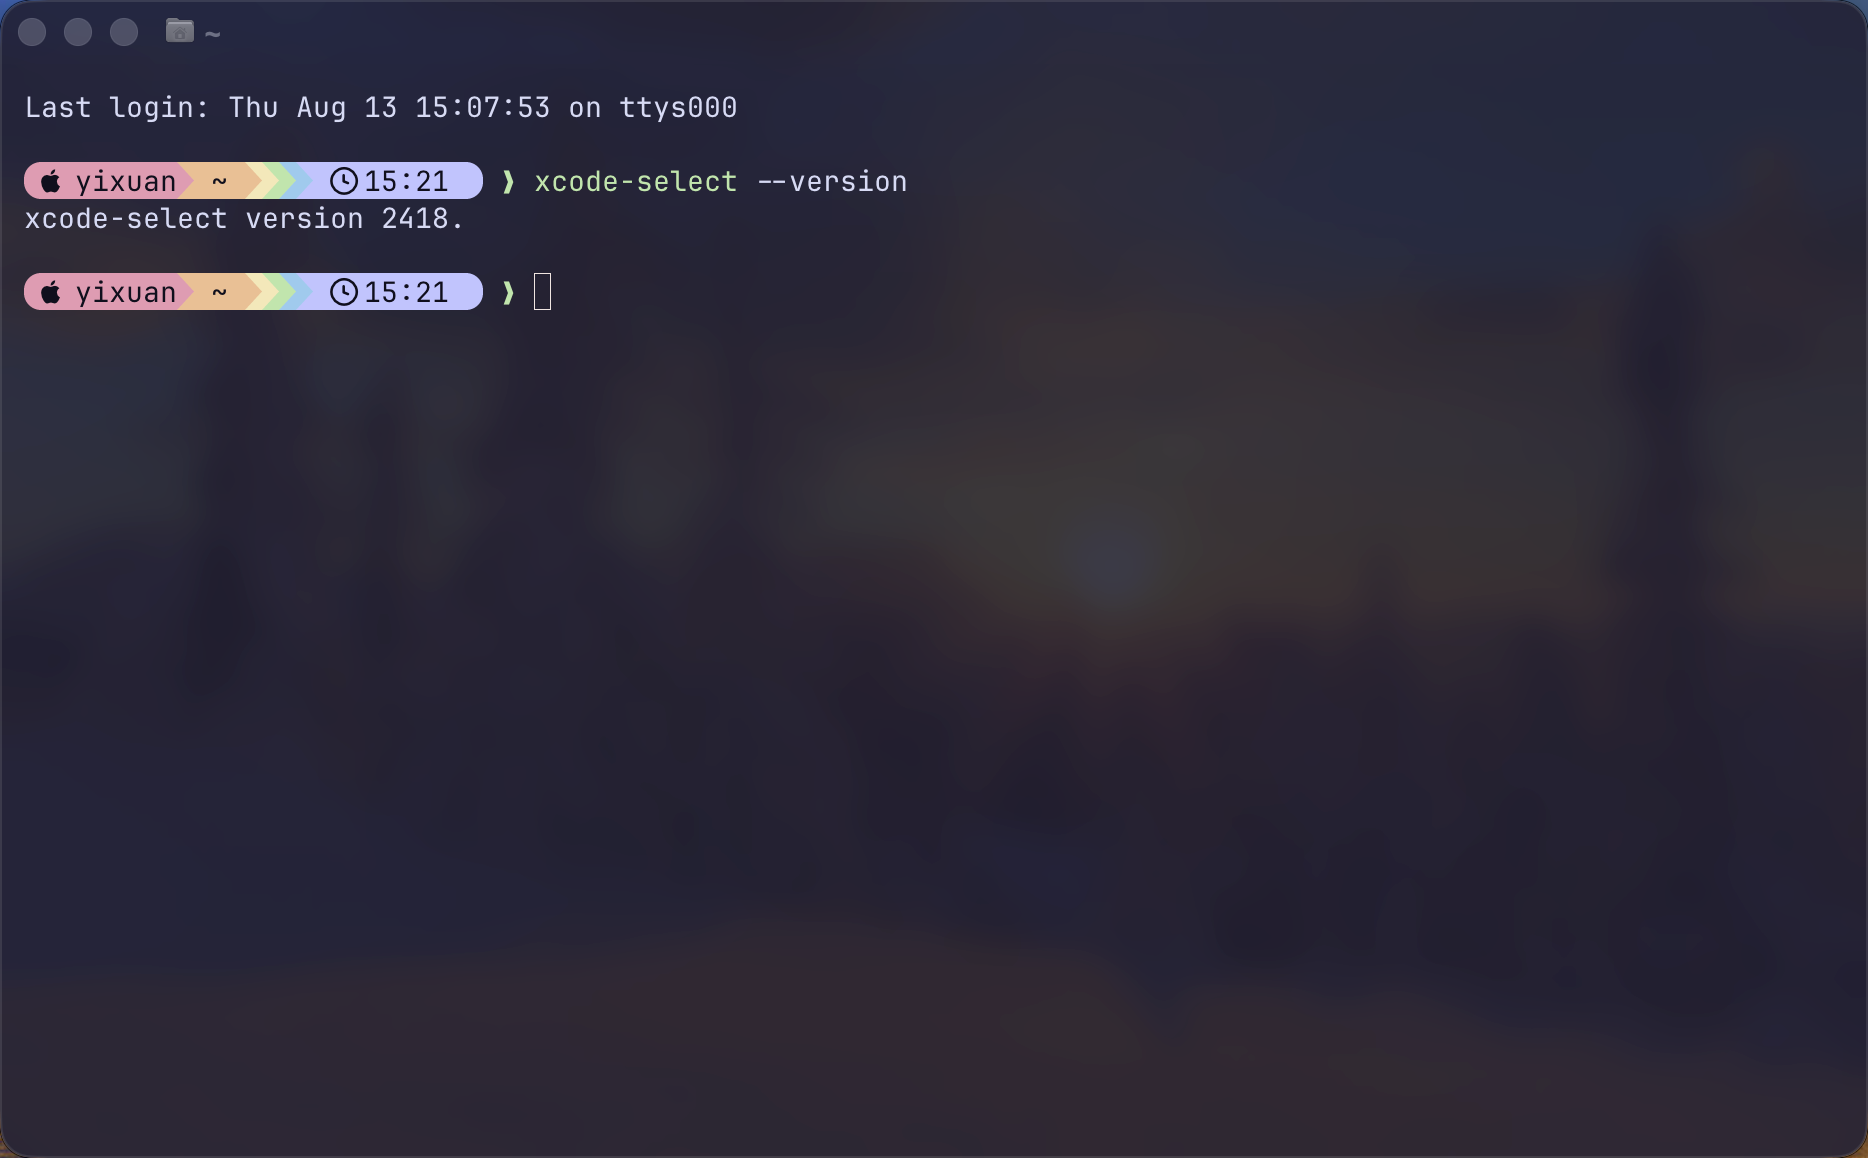
检查是否已有 Xcode CLI Tools:
|
1 2 3 |
xcode-select --version # 若未安装,执行: xcode-select --install |
三、安装 FNM
3.1 手动一键安装脚本(复制即用)
|
1 2 3 4 5 6 7 8 9 10 |
# 完整一键配置(Homebrew + fnm + zsh) brew install fnm && \ echo '' >> ~/.zshrc && \ echo '# FNM (Fast Node Manager)' >> ~/.zshrc && \ echo 'export PATH="$HOME/.local/share/fnm:$PATH"' >> ~/.zshrc && \ echo 'eval "$(fnm env --use-on-cd --shell zsh)"' >> ~/.zshrc && \ source ~/.zshrc && \ fnm install --lts && \ fnm default lts-latest && \ echo "✅ FNM 安装完成!当前 Node 版本:$(node -v)"<span class="hide-preCode-bt" data-report-view="{"spm":"1001.2101.3001.7365"}"><img class="look-more-preCode contentImg-no-view" title="" src="https://longsheng.org/wp-content/uploads/2026/08/b38ae2688123fb0d1caee1cb8365a424.png" alt="" /></span> |
3.2 AI 智能体协助安装
也可以让你的 AI 智能帮你一键下载安装,复制下述命令直接给它即可:
|
1 2 3 4 5 6 7 8 9 10 11 12 13 14 15 16 17 18 19 20 21 22 |
# 任务:在 macOS 上安装并配置 FNM ## 背景信息 我需要在 macOS 上配置 FNM(Fast Node Manager)作为 Node.js 版本管理器,当前使用的 Shell 是 zsh。 ## 执行清单 请按顺序执行以下步骤。若任意步骤失败,请立即停止并向我确认,不要继续执行后续操作。 1. [安装] 执行 `brew install fnm`。如果未检测到 brew,请停止并告知我。 2. [配置] 仅当 ~/.zshrc 中不存在以下两行时,才将其追加到文件末尾: export PATH="$HOME/.local/share/fnm:$PATH" eval "$(fnm env --use-on-cd --shell zsh)" 3. [激活] 执行 `source ~/.zshrc` 使配置生效。 4. [镜像] 为加速国内下载,将镜像源配置追加到 ~/.zshrc(若不存在): export FNM_NODE_DIST_MIRROR=https://npmmirror.com/mirrors/node 5. [安装 Node] 安装最新 LTS 版本并设为默认:`fnm install --lts && fnm default lts-latest` 6. [验证] 执行 `fnm current && node -v`,并将完整输出结果展示给我。 ## 约束条件 - 禁止删除或修改 ~/.zshrc 中已有的任何内容。 - 尽可能使用幂等命令,确保可安全重复执行。 - 若任何命令需要 sudo 权限,必须先说明原因,获得我的确认后再执行。 |
英文版:
|
1 2 3 4 5 6 7 8 9 10 11 12 13 14 15 16 17 18 19 20 21 |
# Task: Install and Configure FNM on macOS ## Context I need to set up FNM (Fast Node Manager) as my Node.js version manager. My shell is zsh. ## Execution Checklist Please execute the following steps sequentially. Stop and ask for confirmation if any step fails. 1. [Install] Run `brew install fnm`. If brew is not found, stop and tell me. 2. [Configure] Append the following lines to ~/.zshrc ONLY IF they do not already exist: export PATH="$HOME/.local/share/fnm:$PATH" eval "$(fnm env --use-on-cd --shell zsh)" 3. [Activate] Run `source ~/.zshrc` to load the new config. 4. [Mirror] Set mirror for faster download in China: `export FNM_NODE_DIST_MIRROR=https://npmmirror.com/mirrors/node` (add this to ~/.zshrc as well if not present). 5. [Setup Node] Install latest LTS and set as default: `fnm install --lts && fnm default lts-latest` 6. [Verify] Run `fnm current && node -v` and show me the output. ## Constraints - Do NOT remove or modify any existing content in ~/.zshrc. - Use idempotent commands where possible. - If any command requires sudo, explain why before executing. |
|
1 |
<a style="font-size: 20px; font-weight: bold; font-family: Lato, sans-serif;" name="t5"></a><span style="font-size: 20px; font-weight: bold; background-color: #ffffff; font-family: Lato, sans-serif;">3.3 手动自行安装</span> |
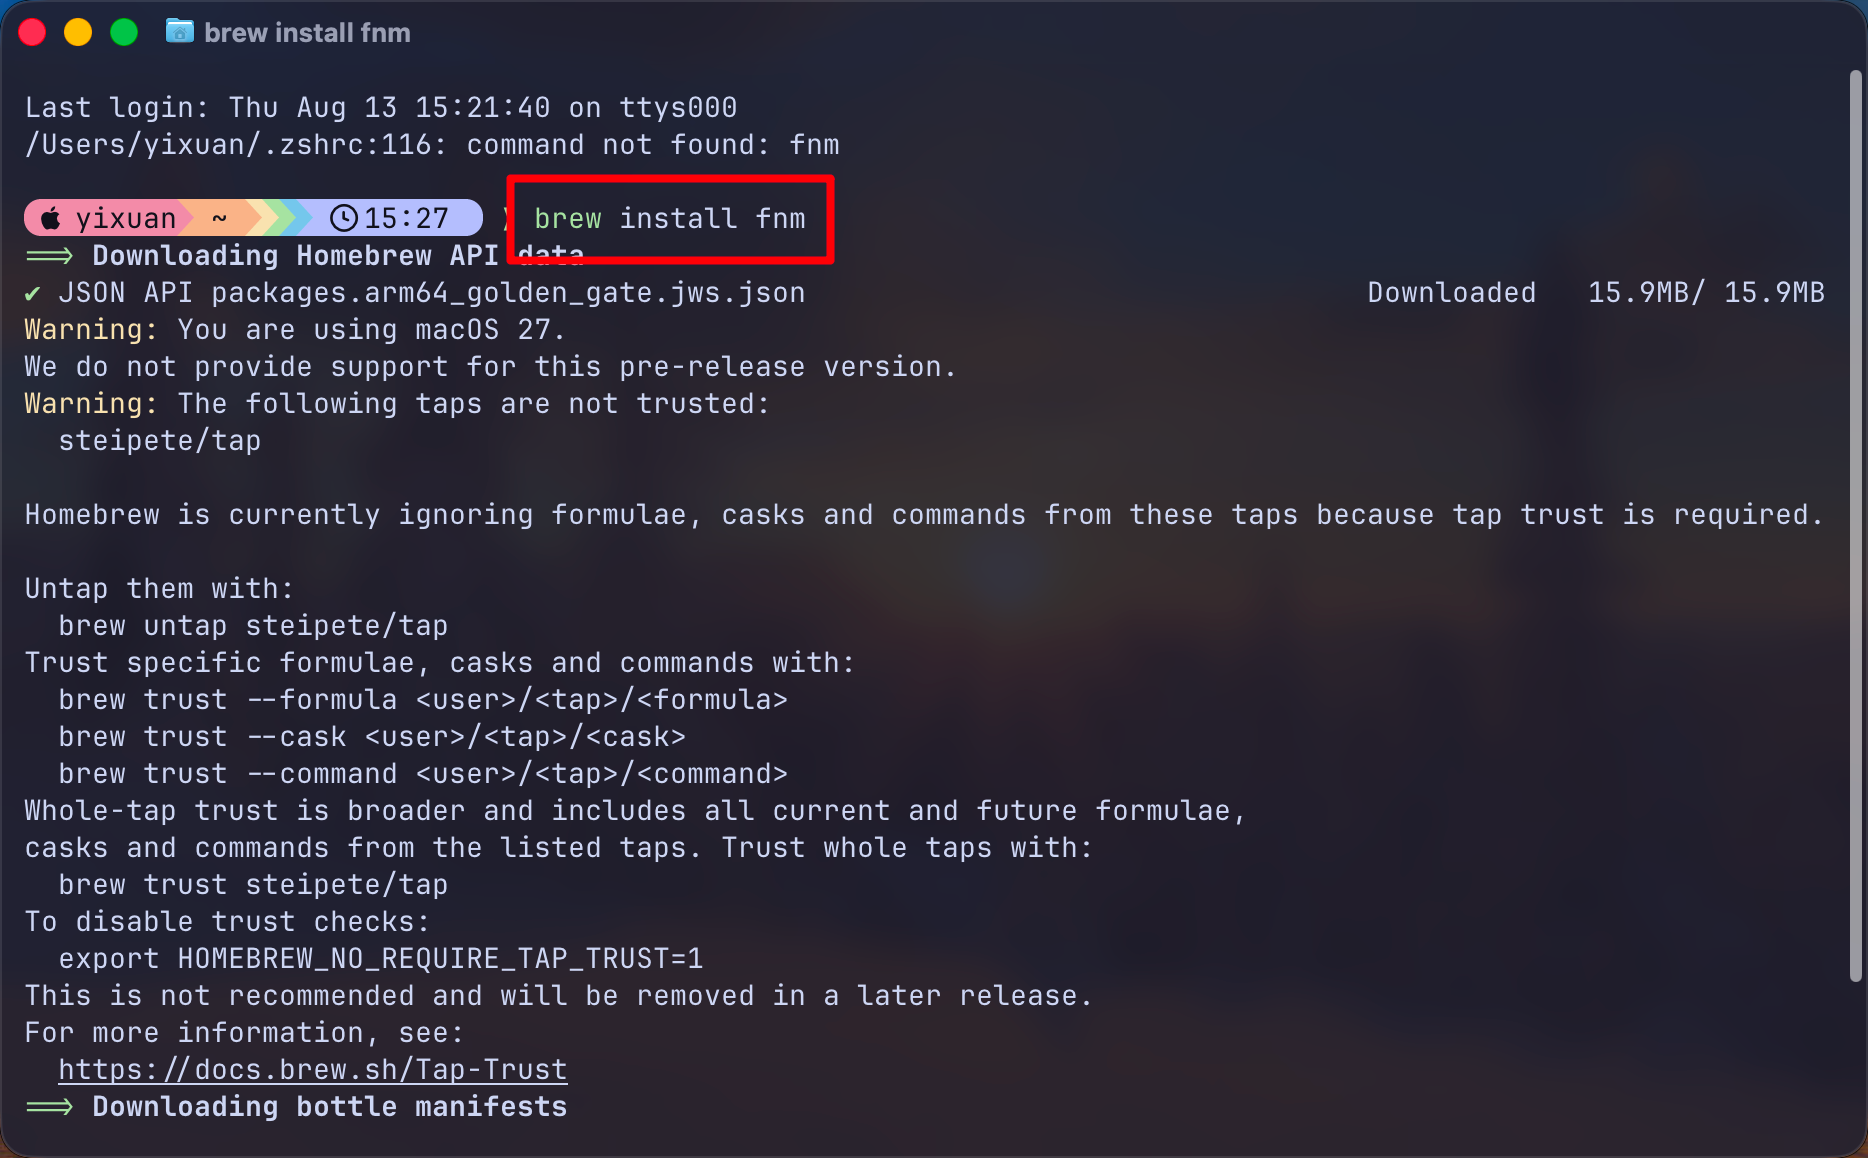
方法一:Homebrew 安装(✅ 推荐)
|
1 |
brew install fnm |
方法二:官方安装脚本
|
1 |
curl -fsSL https://fnm.vercel.app/install | bash |
该脚本会自动下载二进制文件并放入
~/.local/share/fnm,同时提示你配置 shell。
方法三:Cargo 安装(适合 Rust 开发者)
|
1 |
cargo install fnm |
四、配置 Shell 环境
安装完成后,必须让 shell 在启动时加载 fnm。macOS 默认使用 zsh。
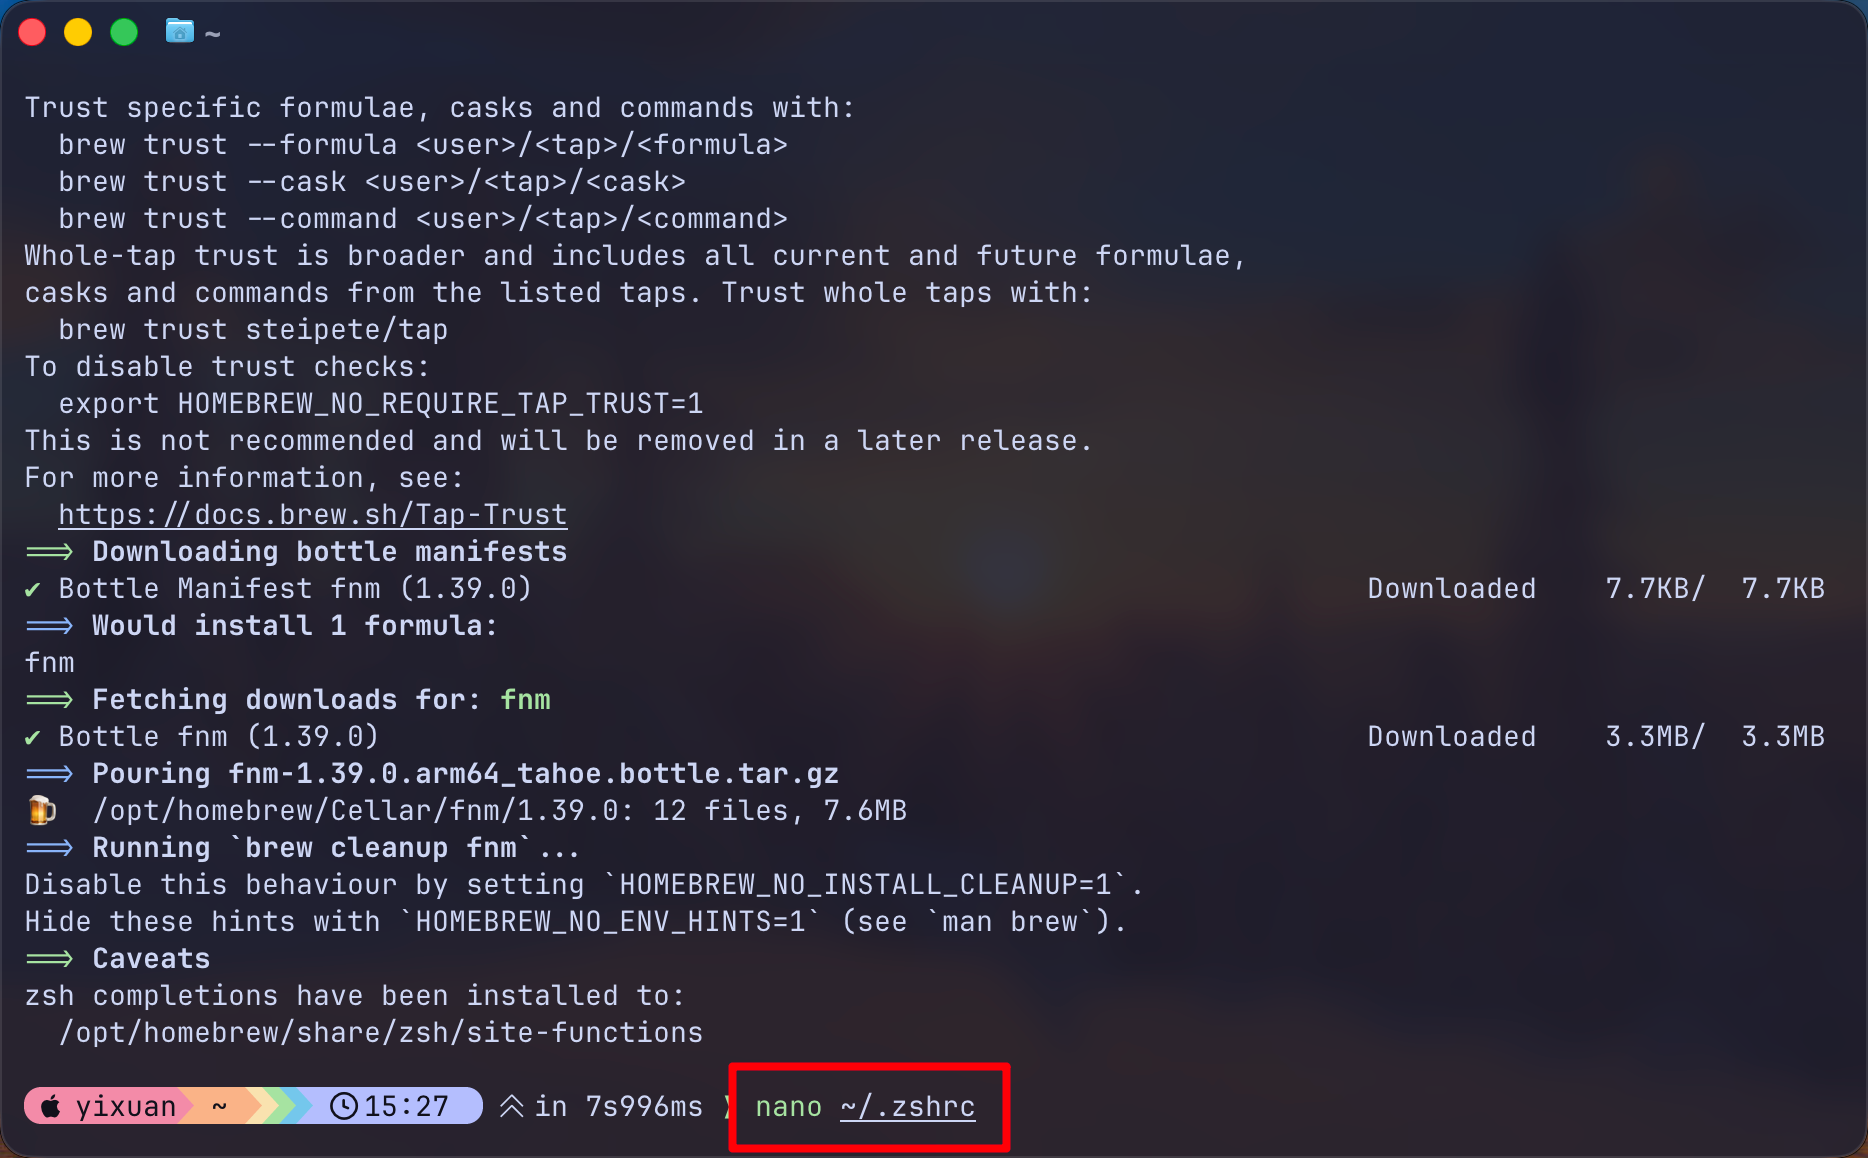
4.1 编辑 ~/.zshrc
|
1 2 3 4 |
# 用你喜欢的编辑器打开 nano ~/.zshrc # 或 vim ~/.zshrc |
在文件末尾添加:
|
1 2 3 |
# FNM 配置 export PATH="$HOME/.local/share/fnm:$PATH" eval "$(fnm env --use-on-cd --shell zsh)" |
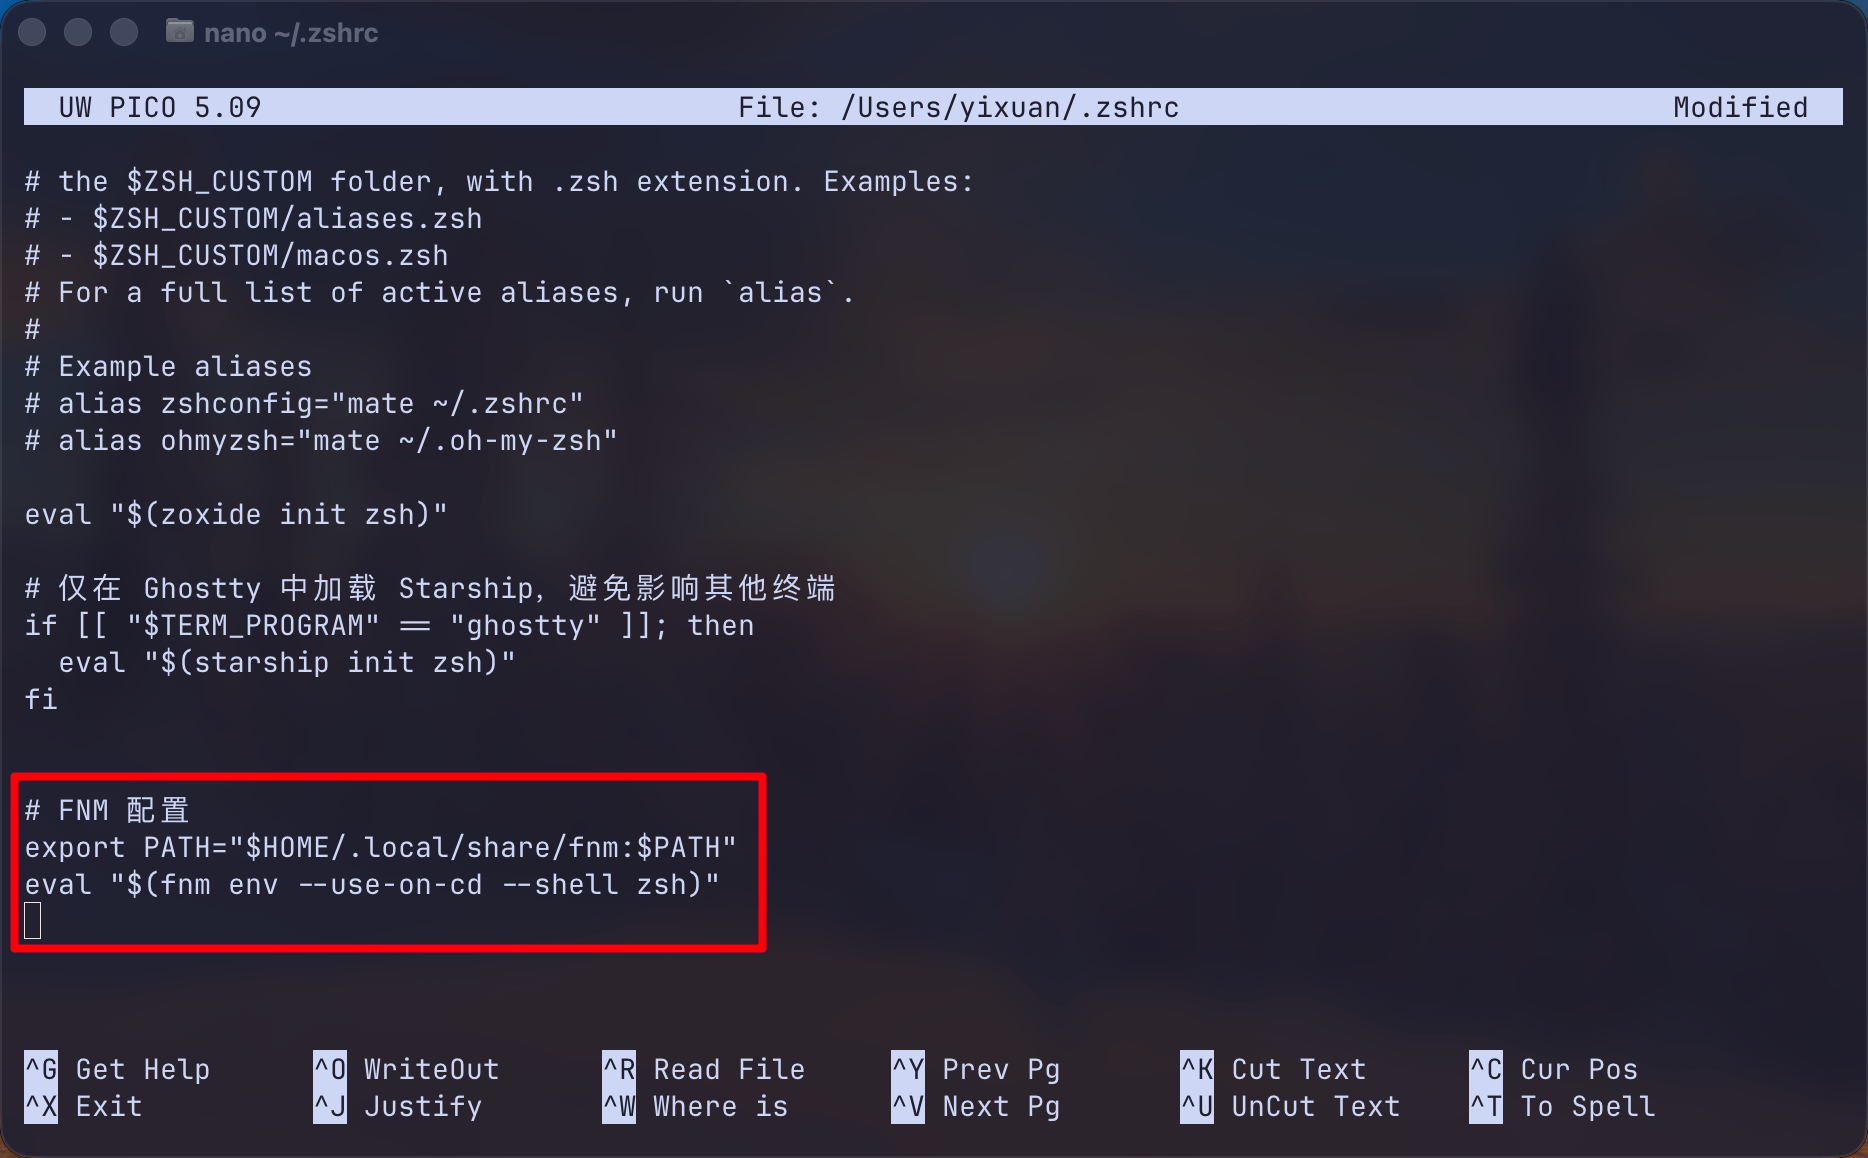
Control + O → 保存(底部会提示文件名,直接按 Enter 确认)
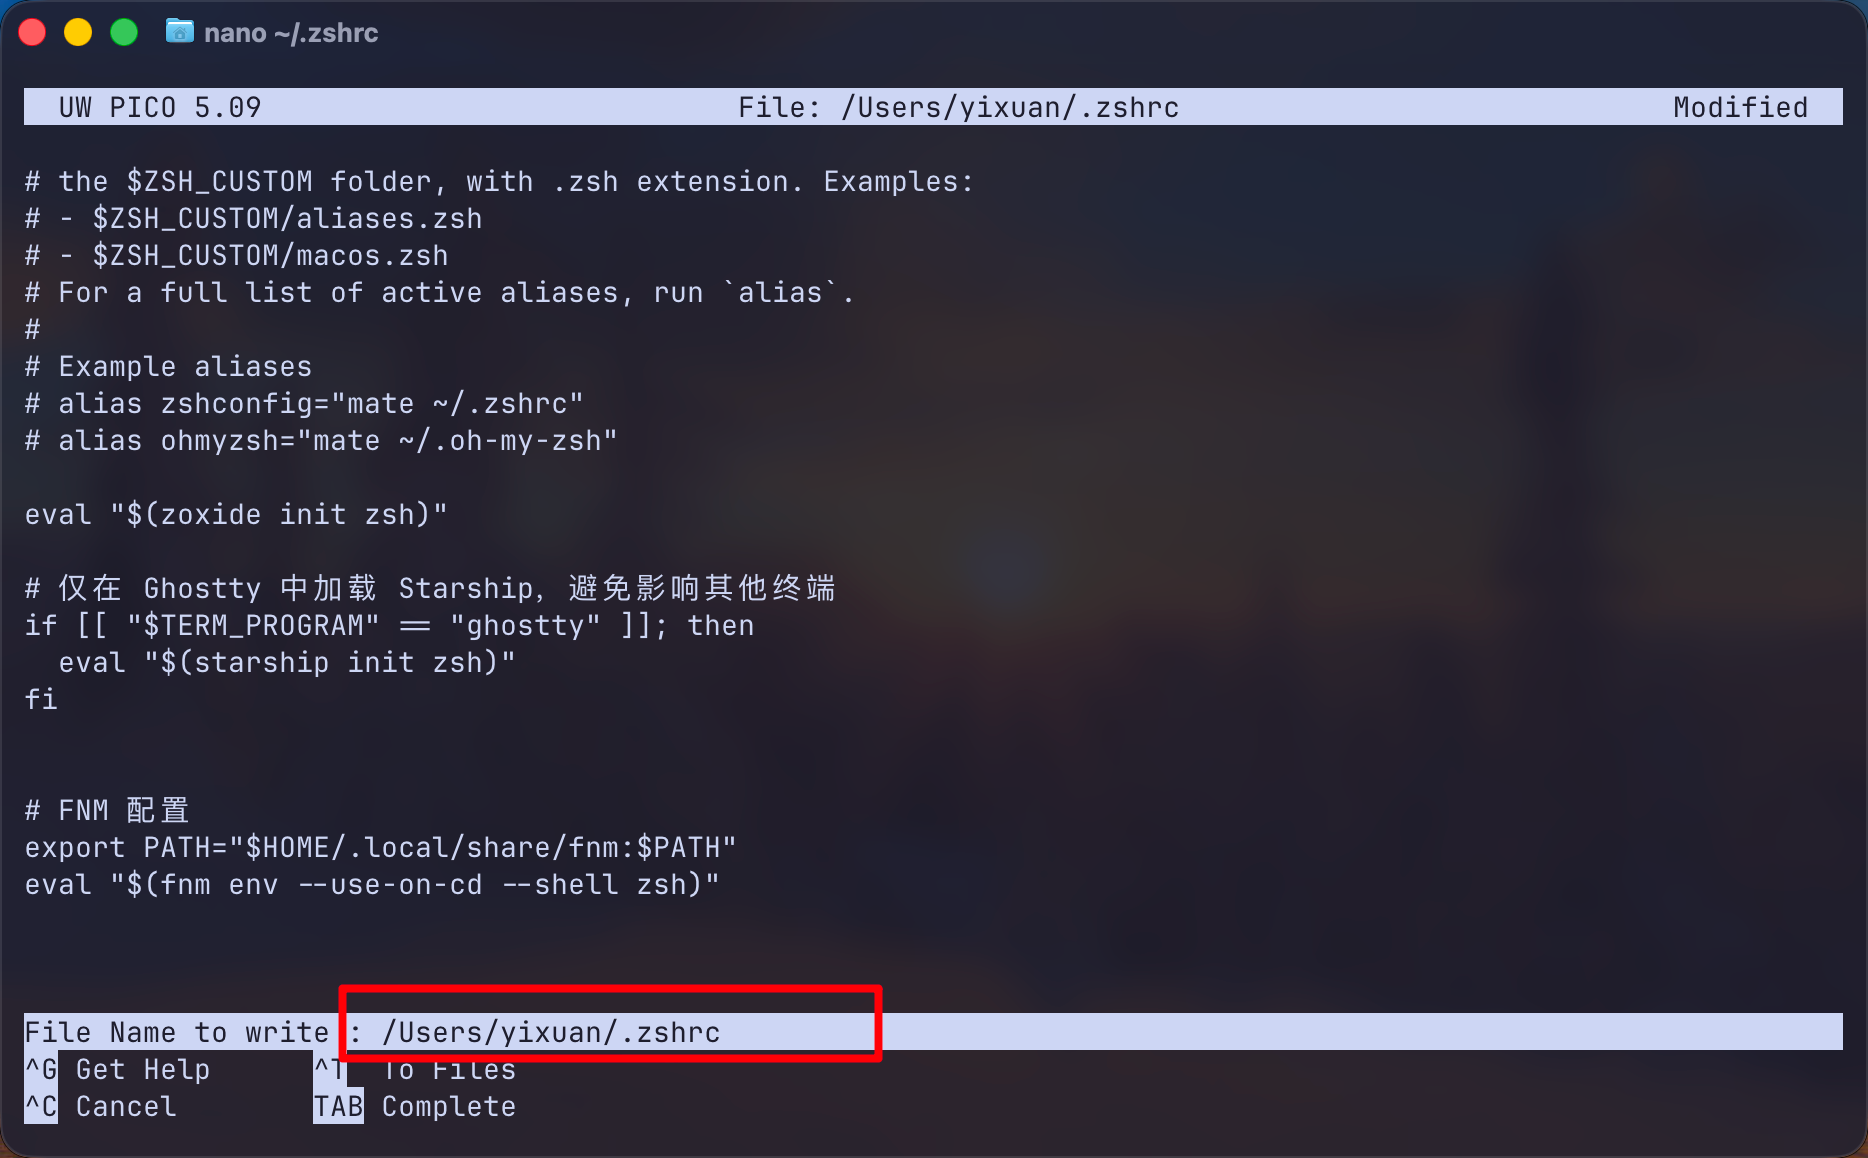
Control + X → 退出
参数说明:
--use-on-cd:进入目录时自动读取.node-version/.nvmrc并切换版本--shell zsh:生成 zsh 兼容的环境变量脚本
4.2 如果你用的是 bash
编辑 ~/.bashrc 或 ~/.bash_profile:
|
1 2 |
export PATH="$HOME/.local/share/fnm:$PATH" eval "$(fnm env --use-on-cd --shell bash)" |
|
1 |
<a style="font-size: 20px; font-weight: bold; font-family: Lato, sans-serif;" name="t9"></a><span style="font-size: 20px; font-weight: bold; background-color: #ffffff; font-family: Lato, sans-serif;">4.3 使配置生效</span> |
|
1 |
source ~/.zshrc |
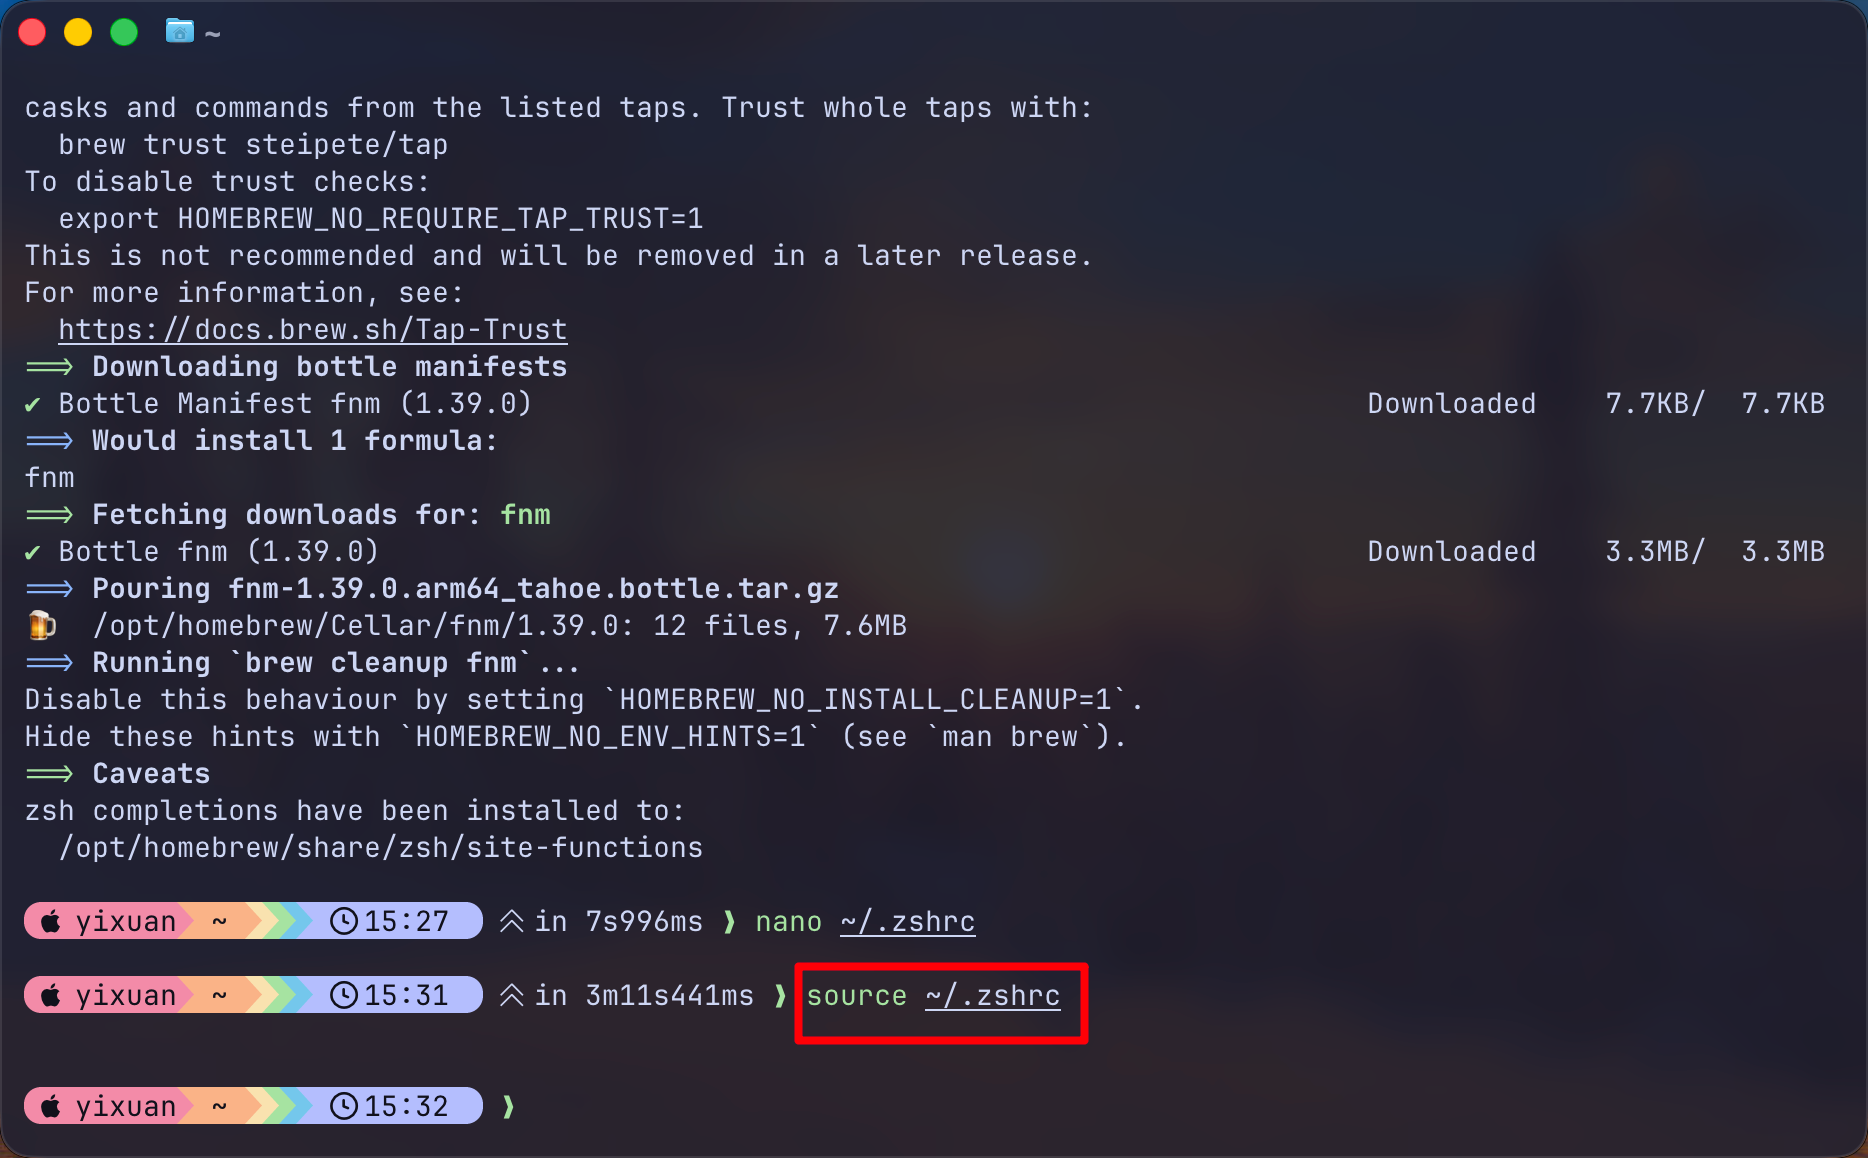
4.4 验证安装
|
1 |
# 输出示例:fnm 1.39.0 |
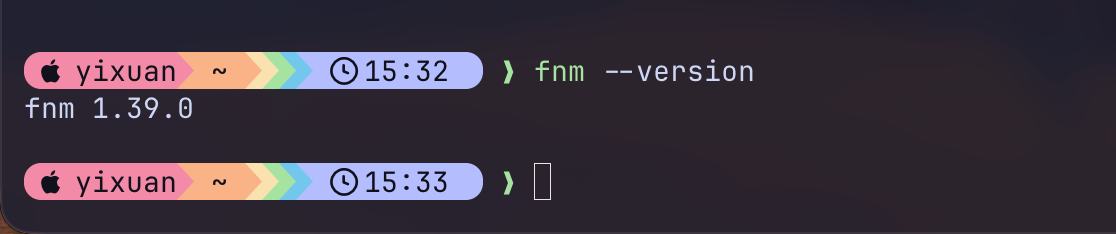
五、基本使用
5.1 安装 Node.js 版本
|
1 2 3 4 5 6 7 8 9 10 |
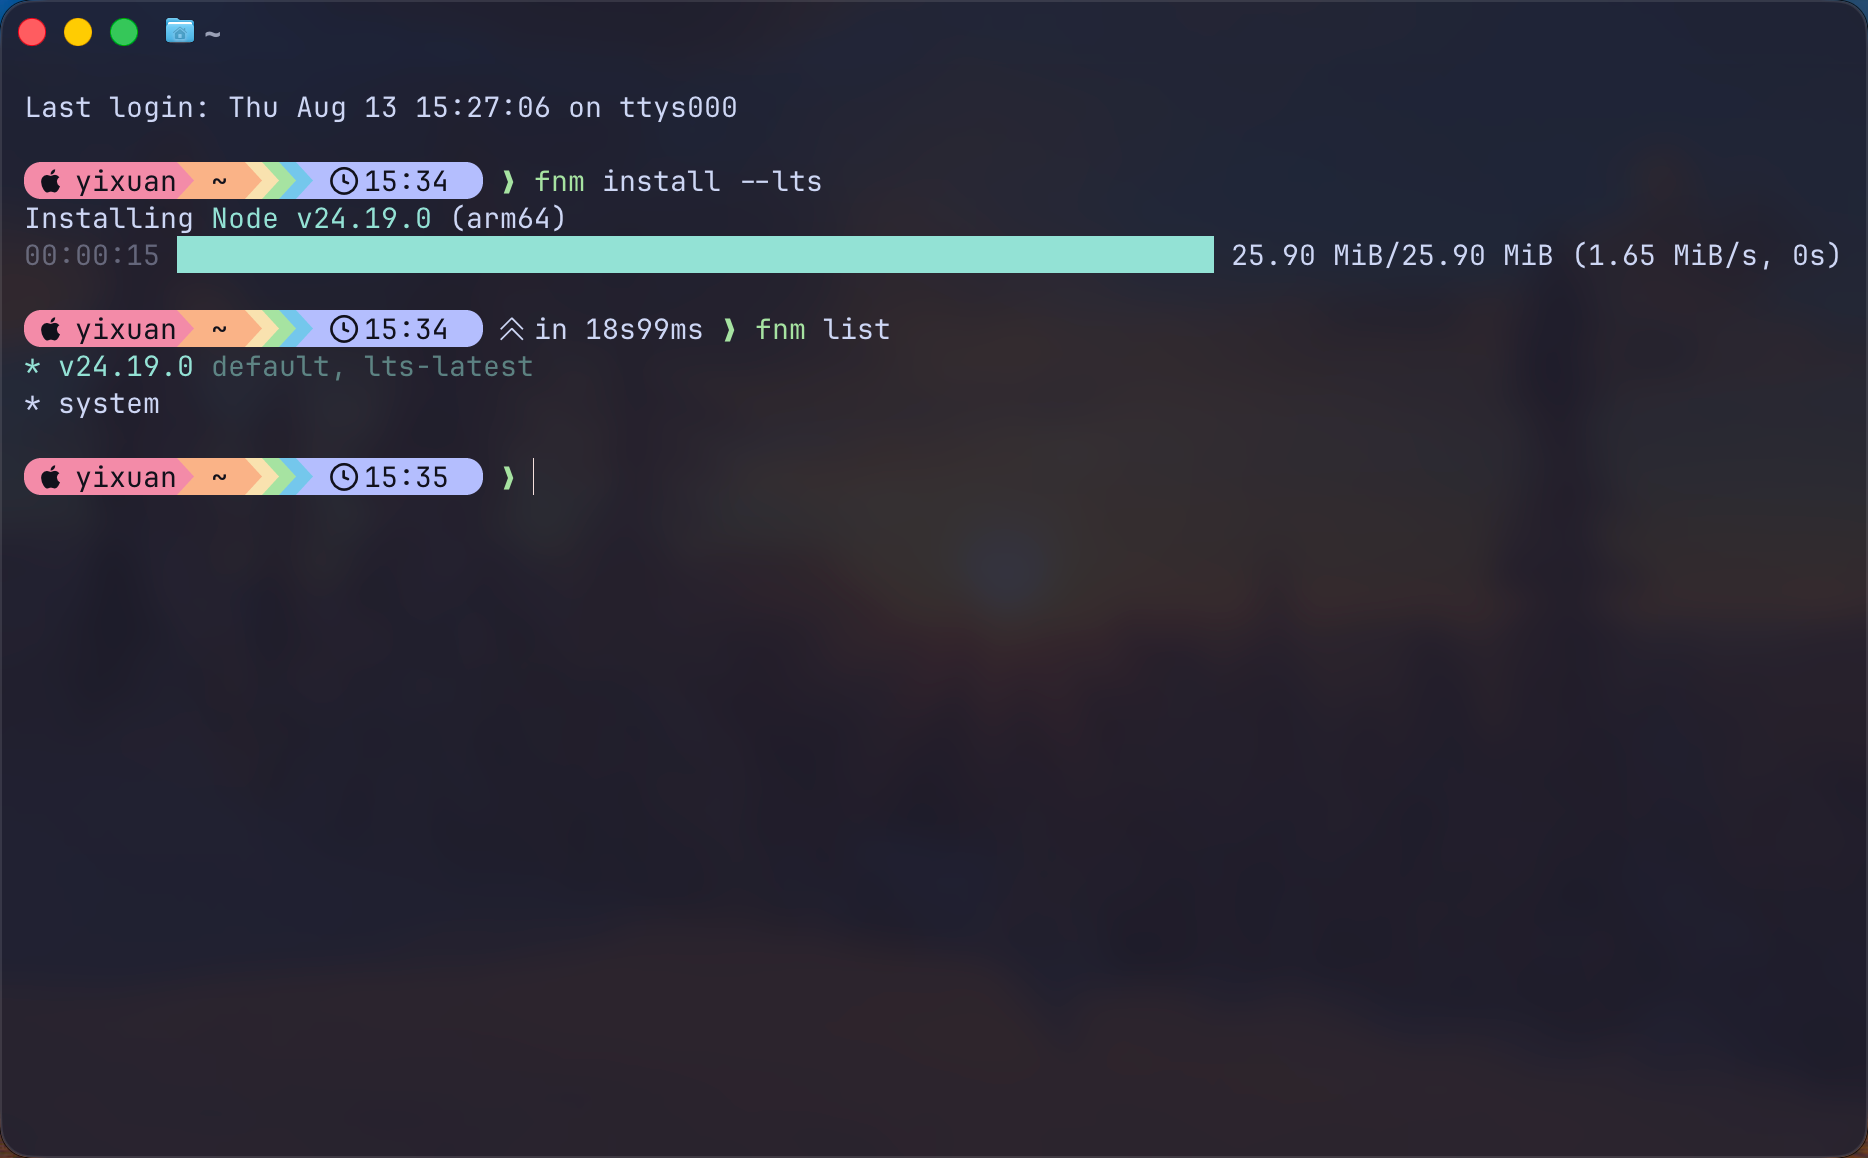
# 安装指定大版本(自动选择最新小版本) fnm install 18 fnm install 20 fnm install 22 # 安装精确版本 fnm install 22.12.0 # 安装最新 LTS fnm install --lts<img class="look-more-preCode contentImg-no-view" title="" src="https://longsheng.org/wp-content/uploads/2026/08/b38ae2688123fb0d1caee1cb8365a424.png" alt="" /> |
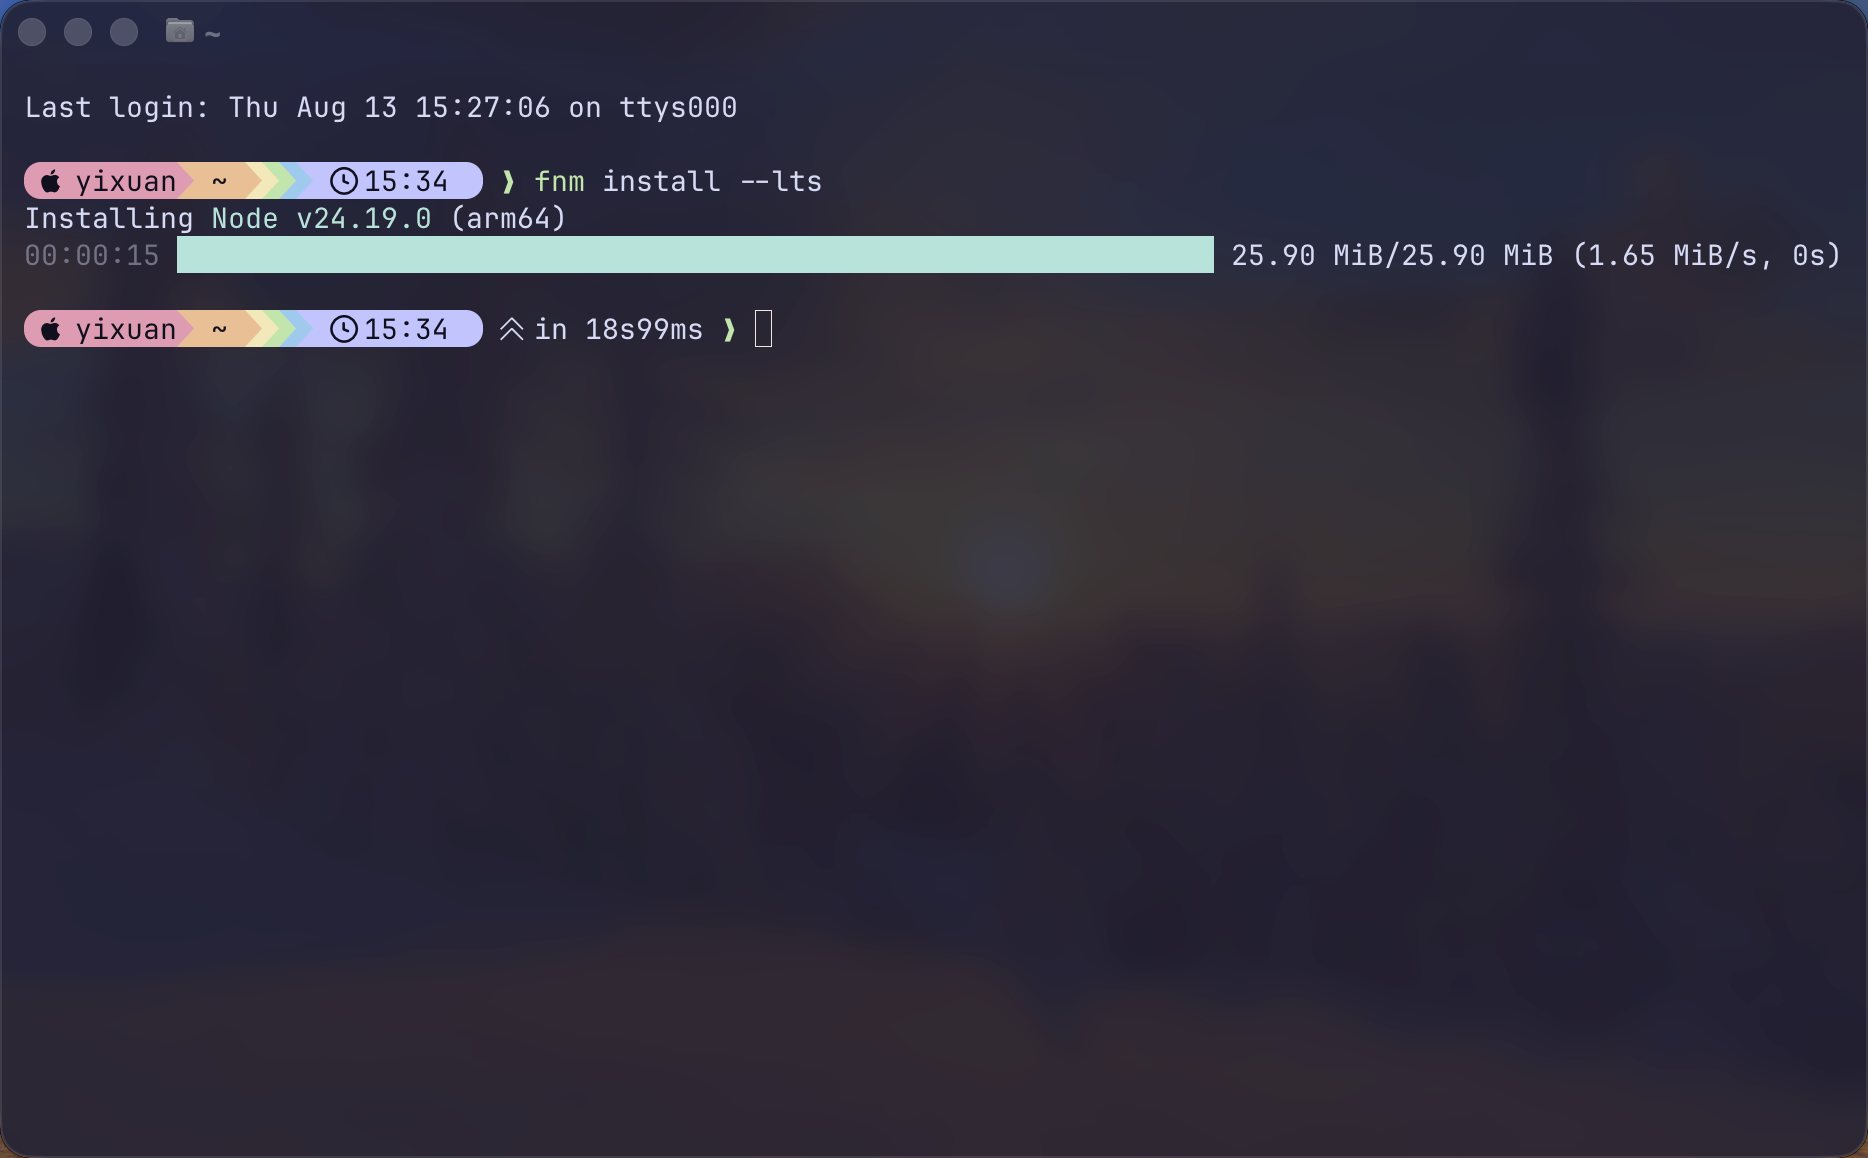
5.2 查看已安装版本
|
1 2 3 4 5 |
fnm list # 输出示例: # * v18.20.4 # * v20.18.1 # * v22.12.0 default |
5.3 切换版本
|
1 2 |
fnm use 22 # Using Node v22.12.0 |
5.4 设置默认版本
|
1 |
fnm default 22 |
之后每次打开新终端都会自动使用 Node 22。
5.5 卸载某个版本
|
1 |
fnm uninstall 18 |
5.6 查看远程可用版本
|
1 2 3 |
fnm list-remote # 或只看最新几个 fnm list-remote | tail -20 |
六、项目级自动切换(重点)
方式一:.node-version 文件
在项目根目录:
|
1 2 |
cd your-project echo "22" > .node-version |
只要你在 ~/.zshrc 中配置了 --use-on-cd,进入该目录就会自动切换:
|
1 2 |
cd your-project # 自动输出:Using Node v22.x.x |
方式二:.nvmrc 文件(兼容 nvm 生态)
|
1 |
echo "20" > .nvmrc |
fnm 同样能识别 .nvmrc,方便团队中有人用 nvm 的场景。
方式三:package.json 中的 engines 字段
|
1 2 3 4 5 |
{ "engines": { "node": ">=22.0.0" } } |
⚠️ 此方式需要 fnm 较新版本支持,优先推荐
.node-version。
七、常见问题排查
❌ command not found: fnm
|
1 2 3 4 5 6 |
# 确认 fnm 二进制在 PATH 中 which fnm # 如果是 Homebrew 安装,确保 brew 环境已加载 eval "$(/opt/homebrew/bin/brew shellenv)" # Apple Silicon eval "$(/usr/local/bin/brew shellenv)" # Intel Mac |
|
1 |
<a style="font-size: 20px; font-weight: bold; font-family: Lato, sans-serif;" name="t24"></a><span style="font-size: 20px; font-weight: bold; background-color: #ffffff; font-family: Lato, sans-serif;">❌ VS Code 终端找不到 fnm</span> |
VS Code 集成终端有时不加载完整的 .zshrc。解决方案:
- 打开 VS Code 设置 → 搜索
terminal.integrated.env.osx - 或在
.zshrc最顶部(其他插件之前)加入 fnm 初始化 - 完全退出 VS Code 后重新打开
❌ 下载 Node 版本超时(国内网络)
fnm 从 GitHub / nodejs.org 下载二进制,国内可能较慢。可设置镜像:
|
1 2 |
# 在 ~/.zshrc 中添加 export FNM_NODE_DIST_MIRROR=https://npmmirror.com/mirrors/node |
然后:
|
1 2 |
source ~/.zshrc fnm install 22 |
❌ 权限问题
|
1 2 |
# 如果遇到 Permission denied chmod +x ~/.local/share/fnm/fnm |
八、从 nvm 迁移到 fnm
|
1 2 3 4 5 6 7 8 9 10 11 12 13 14 15 16 17 18 19 20 |
# 1. 查看 nvm 中已安装的版本 nvm list # 2. 用 fnm 安装相同版本 fnm install 18 fnm install 20 # 3. 设置默认版本 fnm default 20 # 4. 从 ~/.zshrc 中移除 nvm 相关配置(以下三行删除或注释) # export NVM_DIR="$HOME/.nvm" # [ -s "$NVM_DIR/nvm.sh" ] && \. "$NVM_DIR/nvm.sh" # [ -s "$NVM_DIR/bash_completion" ] && \. "$NVM_DIR/bash_completion" # 5. 重新加载 source ~/.zshrc # 6. 确认无误后卸载 nvm rm -rf ~/.nvm |

九、常用命令速查表
| 命令 | 作用 |
|---|---|
fnm install <version> |
安装指定版本 |
fnm install --lts |
安装最新 LTS |
fnm list |
查看已安装版本 |
fnm list-remote |
查看所有可安装版本 |
fnm use <version> |
切换当前 shell 的版本 |
fnm default <version> |
设置全局默认版本 |
fnm current |
查看当前使用的版本 |
fnm uninstall <version> |
卸载某版本 |
fnm alias <name> <version> |
创建版本别名 |
fnm env |
输出环境变量(调试用) |
from:https://blog.csdn.net/2301_80035882/article/details/163728561