PaddleOCR服务部署-并通过Java进行调用
上一篇讲了PaddleOCR的简单使用,但是最终的目的肯定是要将它进行服务部署方便我们调用的,这里介绍一下他的服务部署方式
选择部署方式
官方推荐有以下几种:
Python 推理
C++ 推理
Serving 服务化部署(Python/C++)
Paddle-Lite 端侧部署(ARM CPU/OpenCL ARM GPU)
Paddle.js 部署
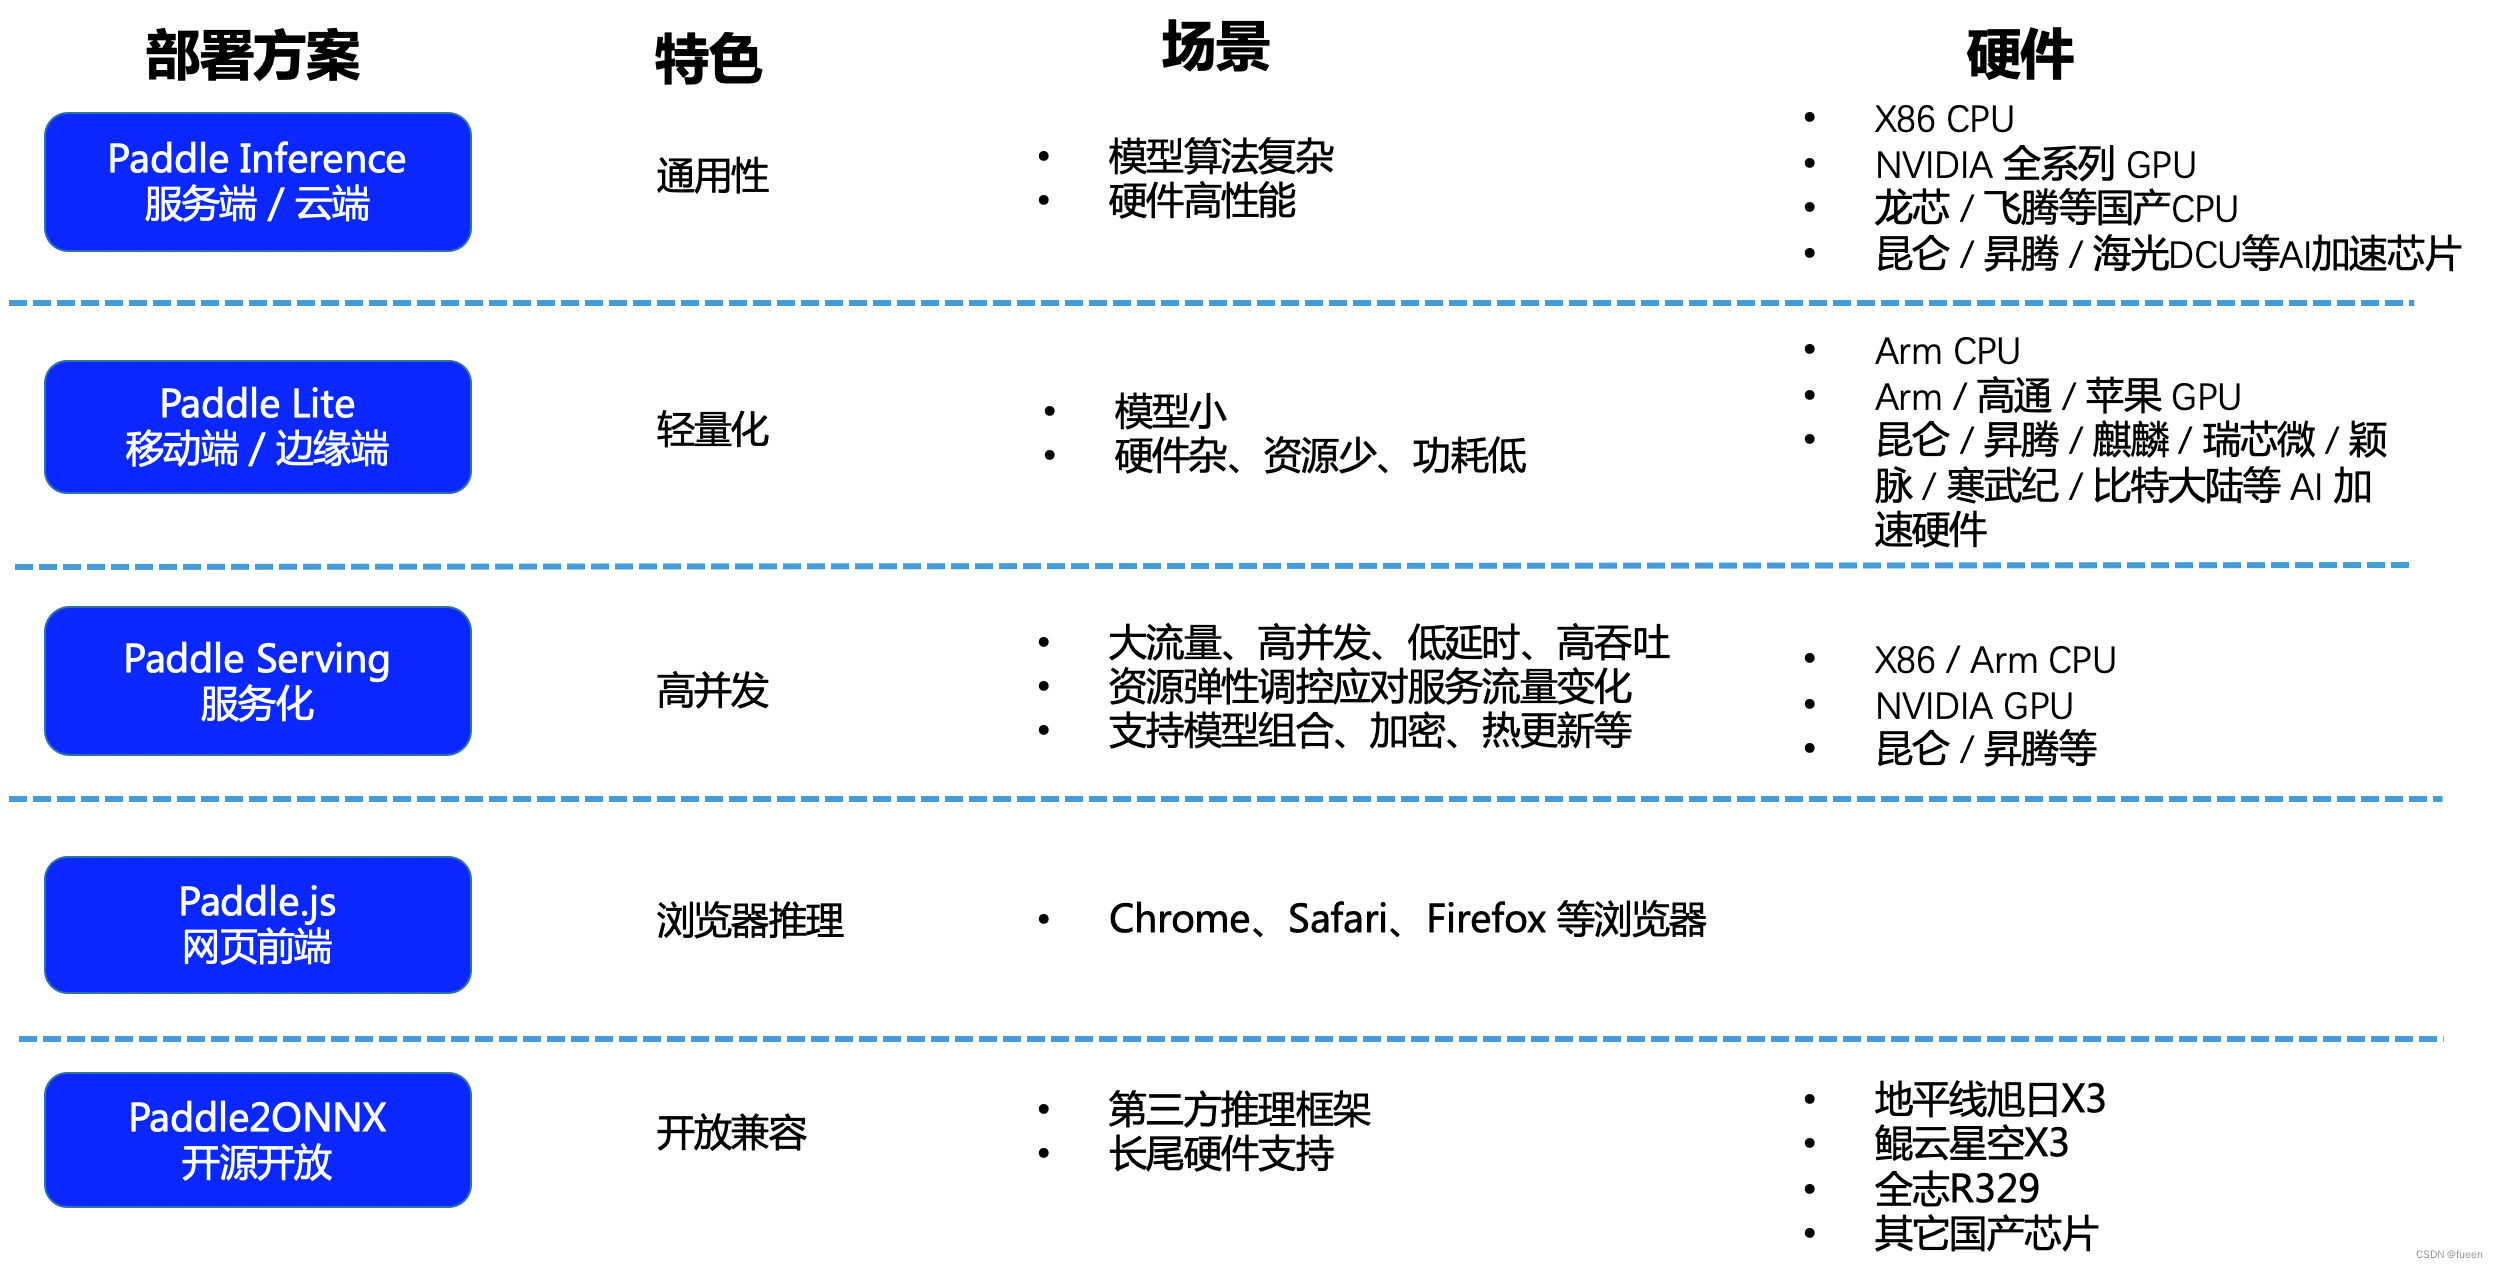
各个方式优缺点如下
由于我本身是做Java开发,不会Python,所以采用Serving 服务化部署
PaddleOCR提供2种服务部署方式:
|
1 2 |
基于PaddleHub Serving的部署; 基于PaddleServing的部署 |
我选择的是通过PaddleHub Serving进行部署
安装Hub Serving
准备环境
|
1 |
pip install paddlehub -i https://mirror.baidu.com/pypi/simple |
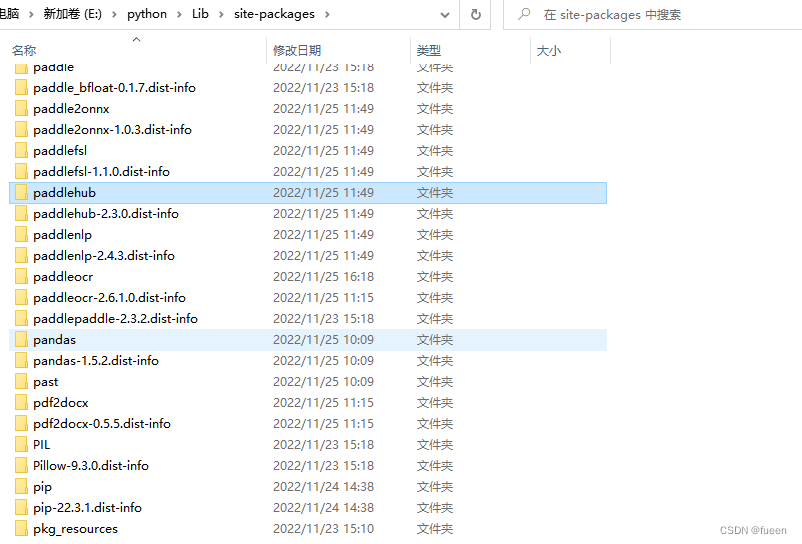
安装好之后查看一下
下载推理模型
PaddleOCR下新建‘inference’文件夹,准备推理模型并放到‘inference’文件夹里面,默认使用的是v1.1版的超轻量模型

https://github.com/PaddlePaddle/PaddleOCR/blob/develop/doc/doc_ch/quickstart.md
默认模型路径为:
检测模型:./inference/ch_ppocr_mobile_v1.1_det_infer/
识别模型:./inference/ch_ppocr_mobile_v1.1_rec_infer/
方向分类器:./inference/ch_ppocr_mobile_v1.1_cls_infer/
模型路径可在params.py中查看和修改。 更多模型可以从PaddleOCR提供的模型库下载,也可以替换成自己训练转换好的模型。
安装服务模块
|
1 2 3 4 5 6 7 8 9 10 11 12 13 14 15 16 17 18 |
#在Linux环境下,安装示例如下: # 安装检测服务模块: hub install deploy/hubserving/ocr_det/ # 或,安装识别服务模块: hub install deploy/hubserving/ocr_rec/ # 或,安装检测+识别串联服务模块: hub install deploy/hubserving/ocr_system/ #在Windows环境下(文件夹的分隔符为\),安装示例如下: # 安装检测服务模块: hub install deploy\hubserving\ocr_det\ # 或,安装识别服务模块: hub install deploy\hubserving\ocr_rec\ # 或,安装检测+识别串联服务模块: hub install deploy\hubserving\ocr_system\ |
这里最好把这几个模块都安装上,不然启动的时候会报错
启动服务
启动方式分两种,一种是全局启动,一种是指定到路径启动
|
1 2 |
#全局启动 hub serving start -m ocr_system |
我这里采用的是指定路径启动,需要切换到hubserving目录下通过命令
|
1 |
hub serving start -c deploy\hubserving\ocr_system\config.json |
启动的其他参数参照官方文档说明
**注意:**如果启动报错xxx路径找不到,去PaddleOCR\deploy\hubserving下的ocr_system、ocr_det、ocr_rec的params.py文件,将所有的model_dir
替换为符合win格式的绝对路径即可;
这样就完成了一个服务化API的部署,使用默认端口号8868。
访问示例:
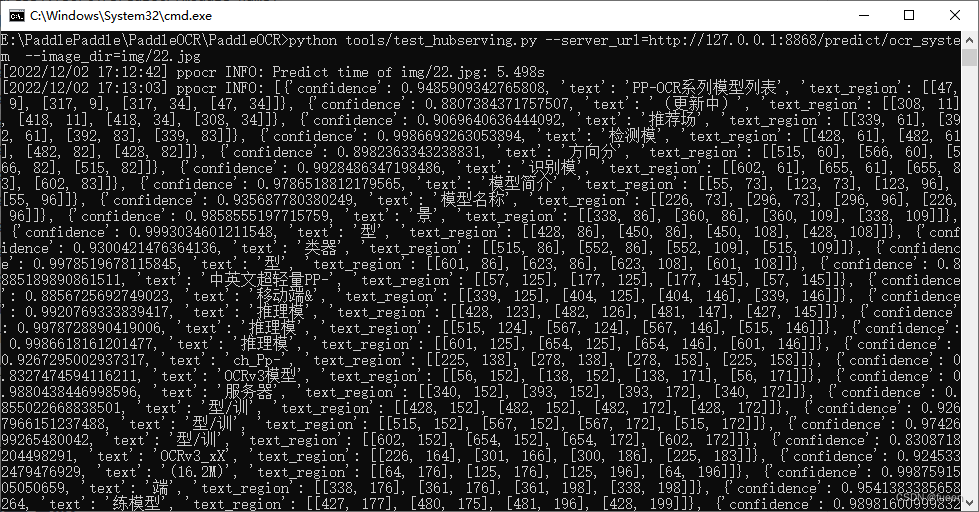
python tools/test_hubserving.py --server_url=http://127.0.0.1:8868/predict/ocr_system --image_dir=img/22.jpg
输出结果:
Java调取
我们可以通过Java代码进行服务的调取,代码如下:
|
1 2 3 4 5 6 7 8 9 10 11 12 13 14 15 16 17 18 19 20 21 22 23 24 25 26 27 28 29 30 31 32 33 34 35 36 37 38 39 40 41 42 43 44 45 46 47 48 49 50 51 52 53 54 55 56 57 58 59 60 61 62 63 64 65 66 67 68 69 70 71 72 73 74 75 76 77 78 79 80 81 82 83 84 85 86 87 88 89 90 91 92 93 94 95 96 97 98 99 100 101 102 103 104 105 106 107 108 109 110 111 112 113 114 115 116 117 118 119 120 121 122 123 124 125 126 127 128 129 130 |
/** * @author: fueen * @createTime: 2022/11/28 10:01 */ @RestController @RequestMapping("/paddleocr") public class PaddleOCRController { @PostMapping("/upload") public String fileUpload(@RequestParam("file") MultipartFile file, HttpServletRequest req, Model model){ try { //接收上传文件 //Receiving uploaded files String fileName = System.currentTimeMillis()+file.getOriginalFilename(); String destFileName=req.getServletContext().getRealPath("")+"uploaded"+ File.separator+fileName; File destFile = new File(destFileName); destFile.getParentFile().mkdirs(); System.out.println(destFile); file.transferTo(destFile); //向前端模板引擎传入上传文件的地址 //The address of the uploaded file is passed in to the front-end template engine model.addAttribute("fileName","uploaded\\"+fileName); model.addAttribute("path",destFile); //开始准备请求API //Start preparing the request API //创建请求头 //Create request header HttpHeaders headers = new HttpHeaders(); //设置请求头格式 //Set the request header format headers.setContentType(MediaType.APPLICATION_JSON); //构建请求参数 //Build request parameters MultiValueMap<String, String> map = new LinkedMultiValueMap<String, String>(); //读入静态资源文件 //Read the static resource file InputStream imagePath = new FileInputStream(destFile); //添加请求参数images,并将Base64编码的图片传入 //Add the request parameter Images and pass in the Base64 encoded image map.add("images", ImageToBase64(imagePath)); //构建请求 //Build request HttpEntity<MultiValueMap<String, String>> request = new HttpEntity<MultiValueMap<String, String>>(map, headers); RestTemplate restTemplate = new RestTemplate(); //发送请求 //Send the request Map json = restTemplate.postForEntity("http://127.0.0.1:8868/predict/ocr_system", request, Map.class).getBody(); System.out.println(json); //解析Json返回值 //Parse the Json return value List<List<Map>> json1 = (List<List<Map>>) json.get("results"); //获取文件目录为后面画图做准备 //Get the file directory to prepare for later drawing String tarImgPath = destFile.toString(); File srcImgFile = new File(tarImgPath); System.out.println(srcImgFile); //文件流转化为图片 //The file flows into images Image srcImg = ImageIO.read(srcImgFile); if (null == srcImg){ return "什么也没有,结束!"; } //获取图片的宽 //Gets the width of the image int srcImgWidth = srcImg.getWidth(null); //获取图片的高 //Get the height of the image int srcImgHeight = srcImg.getHeight(null); //开始绘图主流程,创建画板设置画笔颜色等 //Start drawing main flow, create artboard, set brush color, etc BufferedImage bufImg = new BufferedImage(srcImgWidth, srcImgHeight, BufferedImage.TYPE_INT_RGB); Graphics2D g = bufImg.createGraphics(); g.setColor(Color.red); g.drawImage(srcImg, 0, 0, srcImgWidth, srcImgHeight, null); //循环遍历出所有内容 //Loop through everything for (int i = 0; i < json1.get(0).size(); i++) { System.out.println("当前的文字是:" + json1.get(0).get(i).get("text")); System.out.println("可能的概率为:" + json1.get(0).get(i).get("confidence")); List<List<Integer>> json2 = (List<List<Integer>>) json1.get(0).get(i).get("text_region"); System.out.println("文字的坐标" + json2); int x = json2.get(0).get(0); int y = json2.get(0).get(1); int w = json2.get(1).get(0)-json2.get(0).get(0); int h = json2.get(2).get(1)-json2.get(0).get(1); g.drawRect(x,y,w,h); //画出水印 Draw the watermark } //将内容提交到前端模板引擎 //Submit the content to the front-end template engine model.addAttribute("z",json1.get(0)); g.dispose(); // 输出图片 //The output image FileOutputStream outImgStream = new FileOutputStream(tarImgPath); ImageIO.write(bufImg, "png", outImgStream); System.out.println("画图完毕"); outImgStream.flush(); outImgStream.close(); } catch (FileNotFoundException e) { e.printStackTrace(); return "上传失败," + e.getMessage(); } catch (IOException e) { e.printStackTrace(); return "上传失败," + e.getMessage(); } return "OK"; } private String ImageToBase64(InputStream imgPath) { byte[] data = null; // 读取图片字节数组 //Read the image byte array try { InputStream in = imgPath; System.out.println(imgPath); data = new byte[in.available()]; in.read(data); in.close(); } catch (IOException e) { e.printStackTrace(); } // 对字节数组Base64编码 //Base64 encoding of byte array BASE64Encoder encoder = new BASE64Encoder(); // 返回Base64编码过的字节数组字符串 //Returns a Base64 encoded byte array string //System.out.println("图片转换Base64:" + encoder.encode(Objects.requireNonNull(data))); return encoder.encode(Objects.requireNonNull(data)); } } |
然后运行,通过postman调取接口进行测试
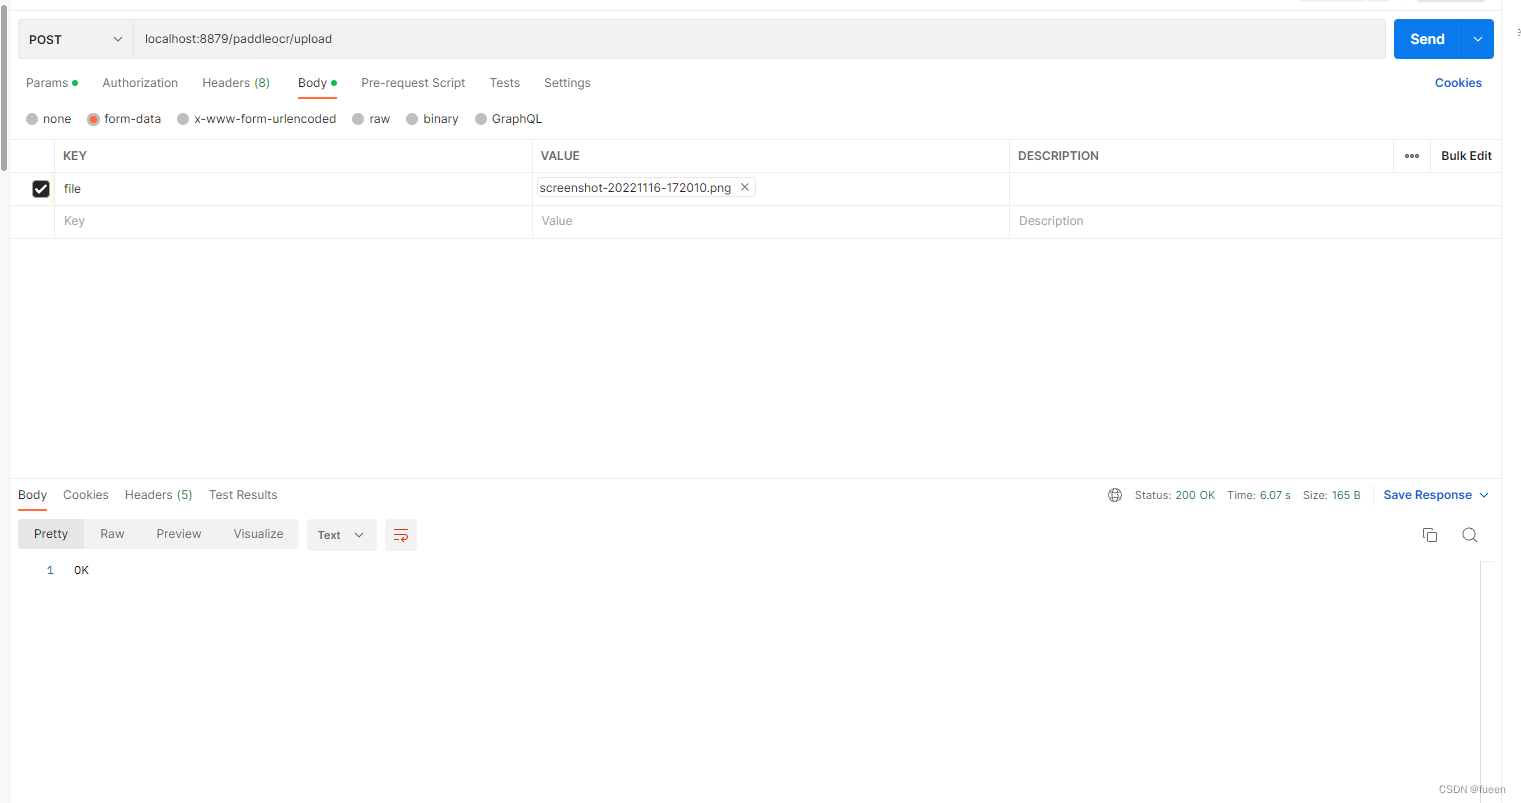
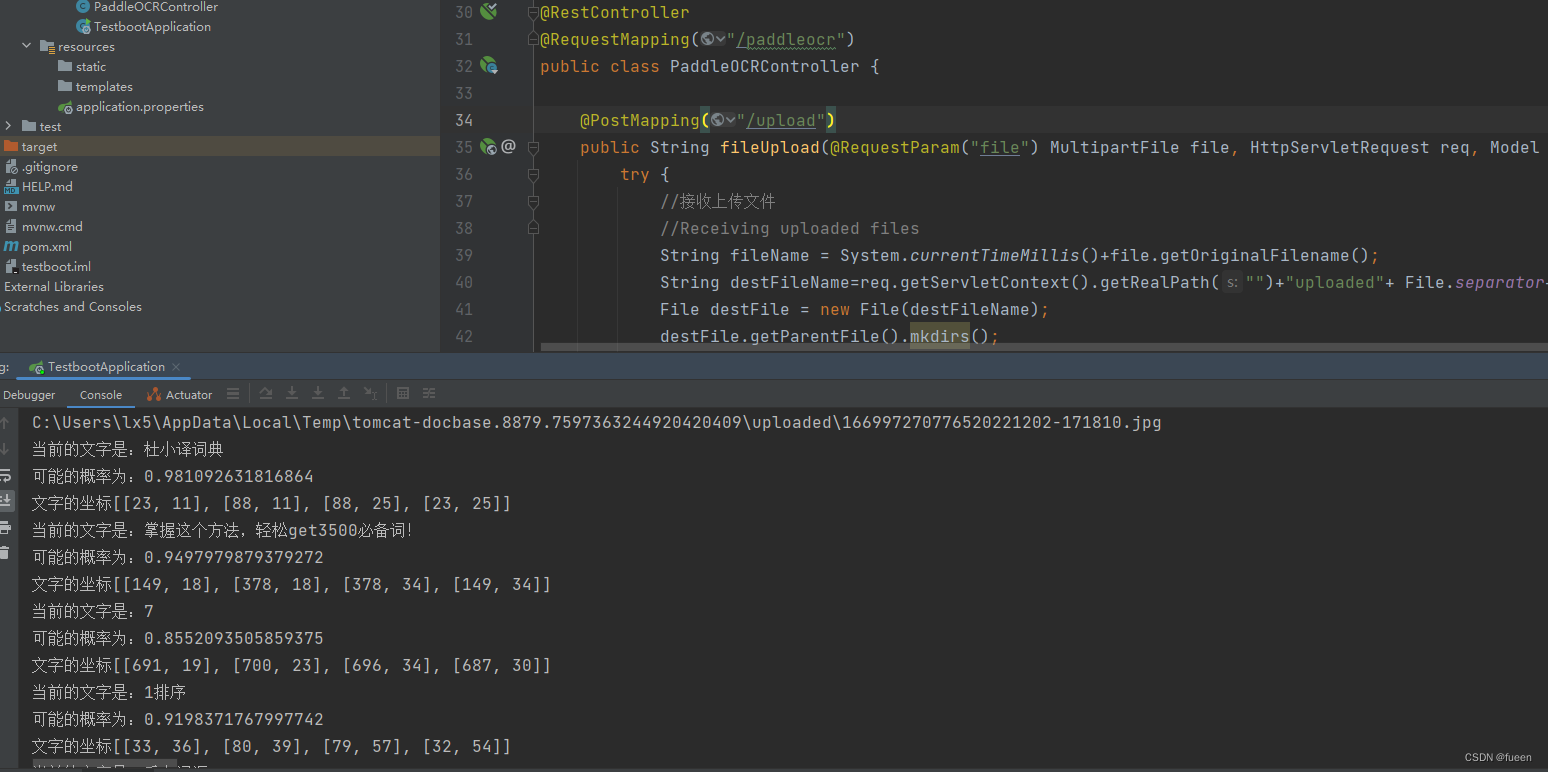
控制台输出结果
完成!后面可以根据自己的业务需求来进行不同的处理修改
from:https://blog.csdn.net/f2315895270/article/details/128150679
