Nginx代理mysql端口
Nginx代理mysql端口
1、安装1.9以上版本nginx并配置stream模块
|
1 2 |
cd /usr/local/ wget 'http://nginx.org/download/nginx-1.9.9.tar.gz' |
或直接复制链接去官网下载然后上传
解压压缩包
|
1 |
tar -zxvf nginx-1.9.9.tar.gz |
重命名(非必须)
|
1 |
mv nginx-1.9.9.tar.gz nginx |
安装需要的其他包
- 安装gcc-c++编译器
yum install -y zlibyum install gcc-c++
yum install -y openssl openssl-devel zlib-devel - 安装pcre包
yum install -y pcre pcre-devel
- 安装zlib包
yum install -y zlib zlib-devel
安装nginx并配置stream模块(重要)
|
1 2 |
cd /usr/local/nginx ./configure --prefix=/usr/local/nginx --with-stream |
编译安装
|
1 2 |
make make install |
修改nginx.conf配置文件
创建nginx存放日志的文件夹
|
1 |
mkdir /usr/local/nginx/logs |
进入nginx.conf修改配置
|
1 2 |
cd /usr/local/nginx/conf/ vi nginx.conf |
在第二行添加日志文件存放的路径
|
1 |
error_log logs/error.log error; |
在最外层添加stream模块
|
1 2 3 4 5 6 7 8 9 10 11 12 13 |
stream{ upstream mysqlBackend{ hash $remote_addr consistent; #原数据库的ip及端口 server 127.0.0.1:3306; } server { #需要路由的端口 listen 13306; proxy_pass mysqlBackend; } } |
启动并测试
|
1 2 |
cd /usr/local/nginx/sbin ./nginx |
打开mysql连接工具或直接在linux连接
linux连接数据库
|
1 2 |
# -P:大写P代表端口号 mysql -uroot -P13306 -p |
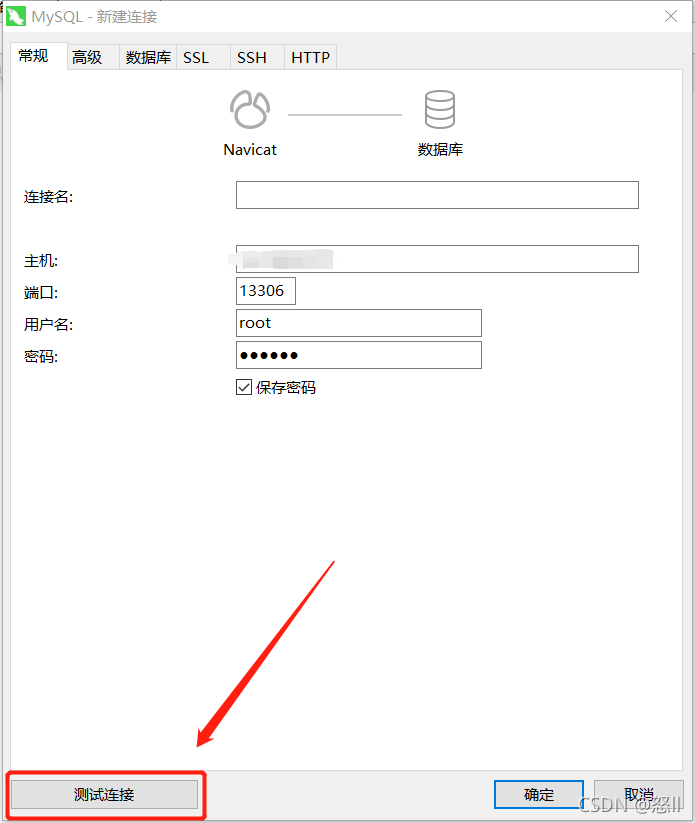
navicat连接数据库
输入信息后点击测试连接

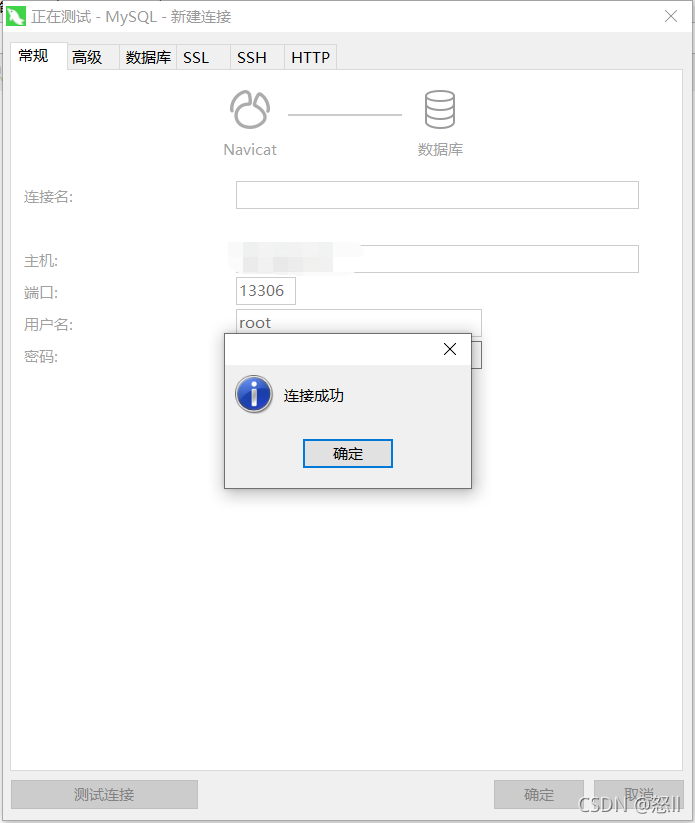
测试连接成功!

from:https://blog.csdn.net/qq_45325873/article/details/120791422