微服务之consul(一)
一、概述
consul是google开源的一个使用go语言开发的服务发现、配置管理中心服务。内置了服务注册与发现框 架、分布一致性协议实现、健康检查、Key/Value存储、多数据中心方案,不再需要依赖其他工具(比如ZooKeeper等)。服务部署简单,只有一个可运行的二进制的包。每个节点都需要运行agent,他有两种运行模式server和client。每个数据中心官方建议需要3或5个server节点以保证数据安全,同时保证server-leader的选举能够正确的进行。
@client
CLIENT表示consul的client模式,就是客户端模式。是consul节点的一种模式,这种模式下,所有注册到当前节点的服务会被转发到SERVER,本身是不持久化这些信息。
@server
SERVER表示consul的server模式,表明这个consul是个server,这种模式下,功能和CLIENT都一样,唯一不同的是,它会把所有的信息持久化的本地,这样遇到故障,信息是可以被保留的。
@server-leader
中间那个SERVER下面有LEADER的字眼,表明这个SERVER是它们的老大,它和其它SERVER不一样的一点是,它需要负责同步注册的信息给其它的SERVER,同时也要负责各个节点的健康监测。
@raft
server节点之间的数据一致性保证,一致性协议使用的是raft,而zookeeper用的paxos,etcd采用的也是raft。
@服务发现协议
consul采用http和dns协议,etcd只支持http
@服务注册
consul支持两种方式实现服务注册,一种是通过consul的服务注册http API,由服务自己调用API实现注册,另一种方式是通过json个是的配置文件实现注册,将需要注册的服务以json格式的配置文件给出。consul官方建议使用第二种方式。
@服务发现
consul支持两种方式实现服务发现,一种是通过http API来查询有哪些服务,另外一种是通过consul agent 自带的DNS(8600端口),域名是以NAME.service.consul的形式给出,NAME即在定义的服务配置文件中,服务的名称。DNS方式可以通过check的方式检查服务。
@服务间的通信协议
Consul使用gossip协议管理成员关系、广播消息到整个集群,他有两个gossip pool(LAN pool和WAN pool),LAN pool是同一个数据中心内部通信的,WAN pool是多个数据中心通信的,LAN pool有多个,WAN pool只有一个。
二、consul集群搭建
1)安装
首先去官网现在合适的consul包:https://www.consul.io/downloads.html
安装直接下载zip包,解压后只有一个可执行的文件consul,将consul添加到系统的环境变量里面。
#unzip consul_1.2.3_linux_amd64.zip
#cp -a consul /usr/bin
#consul
|
1 2 3 4 5 6 7 8 9 10 11 12 13 14 15 16 17 18 19 20 21 22 23 24 25 26 27 |
Usage: consul [--version] [--help] <command> [<args>] Available commands are: agent Runs a Consul agent catalog Interact with the catalog connect Interact with Consul Connect event Fire a new event exec Executes a command on Consul nodes force-leave Forces a member of the cluster to enter the "left" state info Provides debugging information for operators. intention Interact with Connect service intentions join Tell Consul agent to join cluster keygen Generates a new encryption key keyring Manages gossip layer encryption keys kv Interact with the key-value store leave Gracefully leaves the Consul cluster and shuts down lock Execute a command holding a lock maint Controls node or service maintenance mode members Lists the members of a Consul cluster monitor Stream logs from a Consul agent operator Provides cluster-level tools for Consul operators reload Triggers the agent to reload configuration files rtt Estimates network round trip time between nodes snapshot Saves, restores and inspects snapshots of Consul server state validate Validate config files/directories version Prints the Consul version watch Watch for changes in Consul |
输入consul,出现上面的内容证明安装成功。
2)启动
consul必须启动agent才能使用,有两种启动模式server和client,还有一个官方自带的ui。server用与持久化服务信息,集群官方建议3或5个节点。client只用与于server交互。ui可以查看集群情况的。
server:
cn1:
#consul agent -bootstrap-expect 2 -server -data-dir /data/consul0 -node=cn1 -bind=192.168.1.202 -config-dir /etc/consul.d -enable-script-checks=true -datacenter=dc1
cn2:
#consul agent -server -data-dir /data/consul0 -node=cn2 -bind=192.168.1.201 -config-dir /etc/consul.d -enable-script-checks=true -datacenter=dc1 -join 192.168.1.202
cn3:
#consul agent -server -data-dir /data/consul0 -node=cn3 -bind=192.168.1.200 -config-dir /etc/consul.d -enable-script-checks=true -datacenter=dc1 -join 192.168.1.202
参数解释:
-bootstrap-expect:集群期望的节点数,只有节点数量达到这个值才会选举leader。
-server: 运行在server模式
-data-dir:指定数据目录,其他的节点对于这个目录必须有读的权限
-node:指定节点的名称
-bind:为该节点绑定一个地址
-config-dir:指定配置文件,定义服务的,默认所有一.json结尾的文件都会读
-enable-script-checks=true:设置检查服务为可用
-datacenter: 数据中心没名称,
-join:加入到已有的集群中
client:
#consul agent -data-dir /data/consul0 -node=cn4 -bind=192.168.1.199 -config-dir /etc/consul.d -enable-script-checks=true -datacenter=dc1 -join 192.168.1.202
client节点可以有多个,自己根据服务指定即可。
ui:
#consul agent -ui -data-dir /data/consul0 -node=cn4 -bind=192.168.1.198 -client 192.168.1.198 -config-dir /etc/consul.d -enable-script-checks=true -datacenter=dc1 -join 192.168.1.202
-ui:使用自带的ui,
-ui-dir:指定ui的目录,使用自己定义的ui
-client:指定web ui、的监听地址,默认127.0.0.1只能本机访问。
集群创建完成后:
使用一些常用的命令检查集群的状态:
#consul info
可以在raft:stat看到此节点的状态是Fllower或者leader
#consul members
Node Address Status Type Build Protocol DC Segment
cn1 192.168.1.202:8301 alive server 1.0.2 2 dc1 <all>
cn2 192.168.1.201:8301 alive server 1.0.2 2 dc1 <all>
cn3 192.168.1.200:8301 alive client 1.0.2 2 dc1 <default>
新加入一个节点有几种方式;
1、这种方式,重启后不会自动加入集群
#consul join 192.168.1.202
2、#在启动的时候使用-join指定一个集群
#consul agent -ui -data-dir /data/consul0 -node=cn4 -bind=192.168.1.198 -config-dir /etc/consul.d -enable-script-checks=true -datacenter=dc1 -join 192.168.1.202
3、使用-startjoin或-rejoin
#consul agent -ui -data-dir /data/consul0 -node=cn4 -bind=192.168.1.198 -config-dir /etc/consul.d -enable-script-checks=true -datacenter=dc1 -rejoin
访问ui:
http://192.168.1.198:8500/ui
端口:
8300:consul agent服务relplaction、rpc(client-server)
8301:lan gossip
8302:wan gossip
8500:http api端口
8600:DNS服务端口
3)服务注册
采用的是配置文件的方式,(官方推荐)首先创建一个目录用于存放定义服务的配置文件
#mkdir /etc/consul.d/
启动服务的时候要使用-config-dir 参数指定。
下面给出一个服务定义:
#cat web.json
|
1 2 3 4 5 6 7 8 9 10 11 12 13 14 |
{ "service":{ "name":"web", "tags":[ "rails" ], "port":80, "check":{ "name":"ping", "script":"curl -s localhost:80", "interval":"3s" } } } |
如果这样启动consul后,会发现consul的日志里面一直报错,因为我们没有启动80端口的服务,下面给出我写的一个go程序:
#cat web.go
|
1 2 3 4 5 6 7 8 9 10 11 12 13 14 15 16 17 18 19 20 21 22 23 24 25 26 27 |
package main import ( "io" "log" "net/http" "strconv" "fmt" ) var iCnt int = 0; func helloHandler(w http.ResponseWriter, r*http.request) { iCnt++; str :="Hell eorld ! friend("+ strconv.Itoa(iCnt)+")" io.WriteString(w,str) fmt.Println(str) } func main(){ ht :=http.HanderFunc(helloHandler) if ht != nil { http.Handle("/hello",ht) } err := http.ListenAndServe(":80",nil) if err != nil{ log.Fatal("ListenAndserve:",err.Error()) } } |
#需要一个goalong的环境:
#go build -o web web.go
#./web
此时就可以在没有运行web服务的机器上面执行DNS查询:
# dig @127.0.0.1 -p 8600 web.service.consul SRV
;; ANSWER SECTION:
web.service.consul. 0 IN SRV 1 1 80 cn2.node.dc1.consul.
web.service.consul. 0 IN SRV 1 1 80 cn3.node.dc1.consul.
;; ADDITIONAL SECTION:
cn2.node.dc1.consul. 0 IN A 192.168.1.201
cn2.node.dc1.consul. 0 IN TXT "consul-network-segment="
cn3.node.dc1.consul. 0 IN A 192.168.1.200
cn3.node.dc1.consul. 0 IN TXT "consul-network-segment="
;; Query time: 17 msec
;; SERVER: 127.0.0.1#8600(127.0.0.1)
;; WHEN: 四 1月 04 14:39:32 CST 2018
;; MSG SIZE rcvd: 229
可以看到服务已经注册到集群里面了。
使用dns查询,默认域名格式NAME.service.consul,NAME就是web.json里面定义的service的name。可以自己指定域和端口:-domain、-dns-port 53
为了方便使用consul集群的注册使用,所以写了一个三节点client的注册脚本,方便统一注册服务和管理。还利用到了nfs,将服务文件共享到集群。
|
1 2 3 4 5 6 7 8 9 10 11 12 13 14 15 16 17 18 19 20 21 22 |
#!/usr/bin/env python #encoding: utf8 #decription: registered a service to consul from subprocess import call import sys hosts = {"b1":"10.10.1.01:8500","b2":"10.10.7.1:8500","b3":"10.10.8.21:8500"} def consul_relaod(): if (len(sys.argv) != 2) or sys.argv[1] == '-h': print(("Usage: {0} [option] :{1} ,if you wang update all of them,you must use 'all'").format(sys.argv[0],hosts.keys())) sys.exit() elif(sys.argv[1] == 'all'): for i in hosts.keys(): call(("consul reload -http-addr {}").format(hosts[i]),shell=True) else: call(("consul reload -http-addr {}").format(hosts[sys.argv[1]]),shell=True) if __name__ == '__main__': consul_relaod() |
hosts是client节点列表。可以只注册其中的一个节点,输入hosts中对应的key,也可以输入all,注册到所有节点;nfs共享的是/etc/consul.d目录。
4)健康检查
check使用来做服务的健康检查的,可以拥有多个,也可以不使用支持多种方式检查。check必须是script或者TTL类型,如果是TTL类型则ttl变量必须被提供。script是consul主动去检查服务的健康状况,ttl是服务主动向consul报告自己的状况。新版本的consul不在使用script来表示,使用args,如果是https服务的健康检查,可以使用args这种脚本的方式实现,因为consul默认不支持https的健康检查。
script check:
"check": {
"args": ["/data/scripts/kubeadm-ha-0.sh",""],
"interval": "10s"
}
http check:
{
"check": {
"id": "api",
"name": "HTTP API 500",
"http": "http://loclhost:500/health",
"interval": "10s",
"timeout": "1s"
}
}
tcp check:
{
"check": {
"id": "ssh",
"name": "ssh TCP 26622",
"tcp": "localhost:26622",
"interval": "10s",
"timeout": "1s"
}
}
ttl check:
{
"check": {
"id": "web-app",
"name": "Web APP status",
"notes": "Web APP does a curl internally every 10 seconds",
"ttl": "30s"
}
}
三、更新consul版本为最新版本1.2.3.
版本更新特性:
https://github.com/hashicorp/consul/blob/v1.2.3/CHANGELOG.md
|
1 2 3 4 5 6 7 8 9 10 11 12 |
FEATURES: agent: New Cloud Auto-join provider: Kubernetes (K8S) [GH-4635] http: Added support for "Authorization: Bearer" head in addition to the X-Consul-Token header. [GH-4483] dns: Added a way to specify SRV weights for each service instance to allow weighted DNS load-balancing. [GH-4198] dns: Include EDNS-ECS options in EDNS responses where appropriate: see RFC 7871 [GH-4647] IMPROVEMENTS: ui: Switch to fullscreen layout for lists and detail, left aligned forms [GH-4435] connect: TLS certificate readiness now performs x509 certificate verification to determine whether the cert is usable. [GH-4540] ui: The syntax highlighting/code editor is now on by default [GH-4651] ui: Fallback to showing Node.Address if Service.Address is not set [GH-4579] |
ui较之前有很大改变:


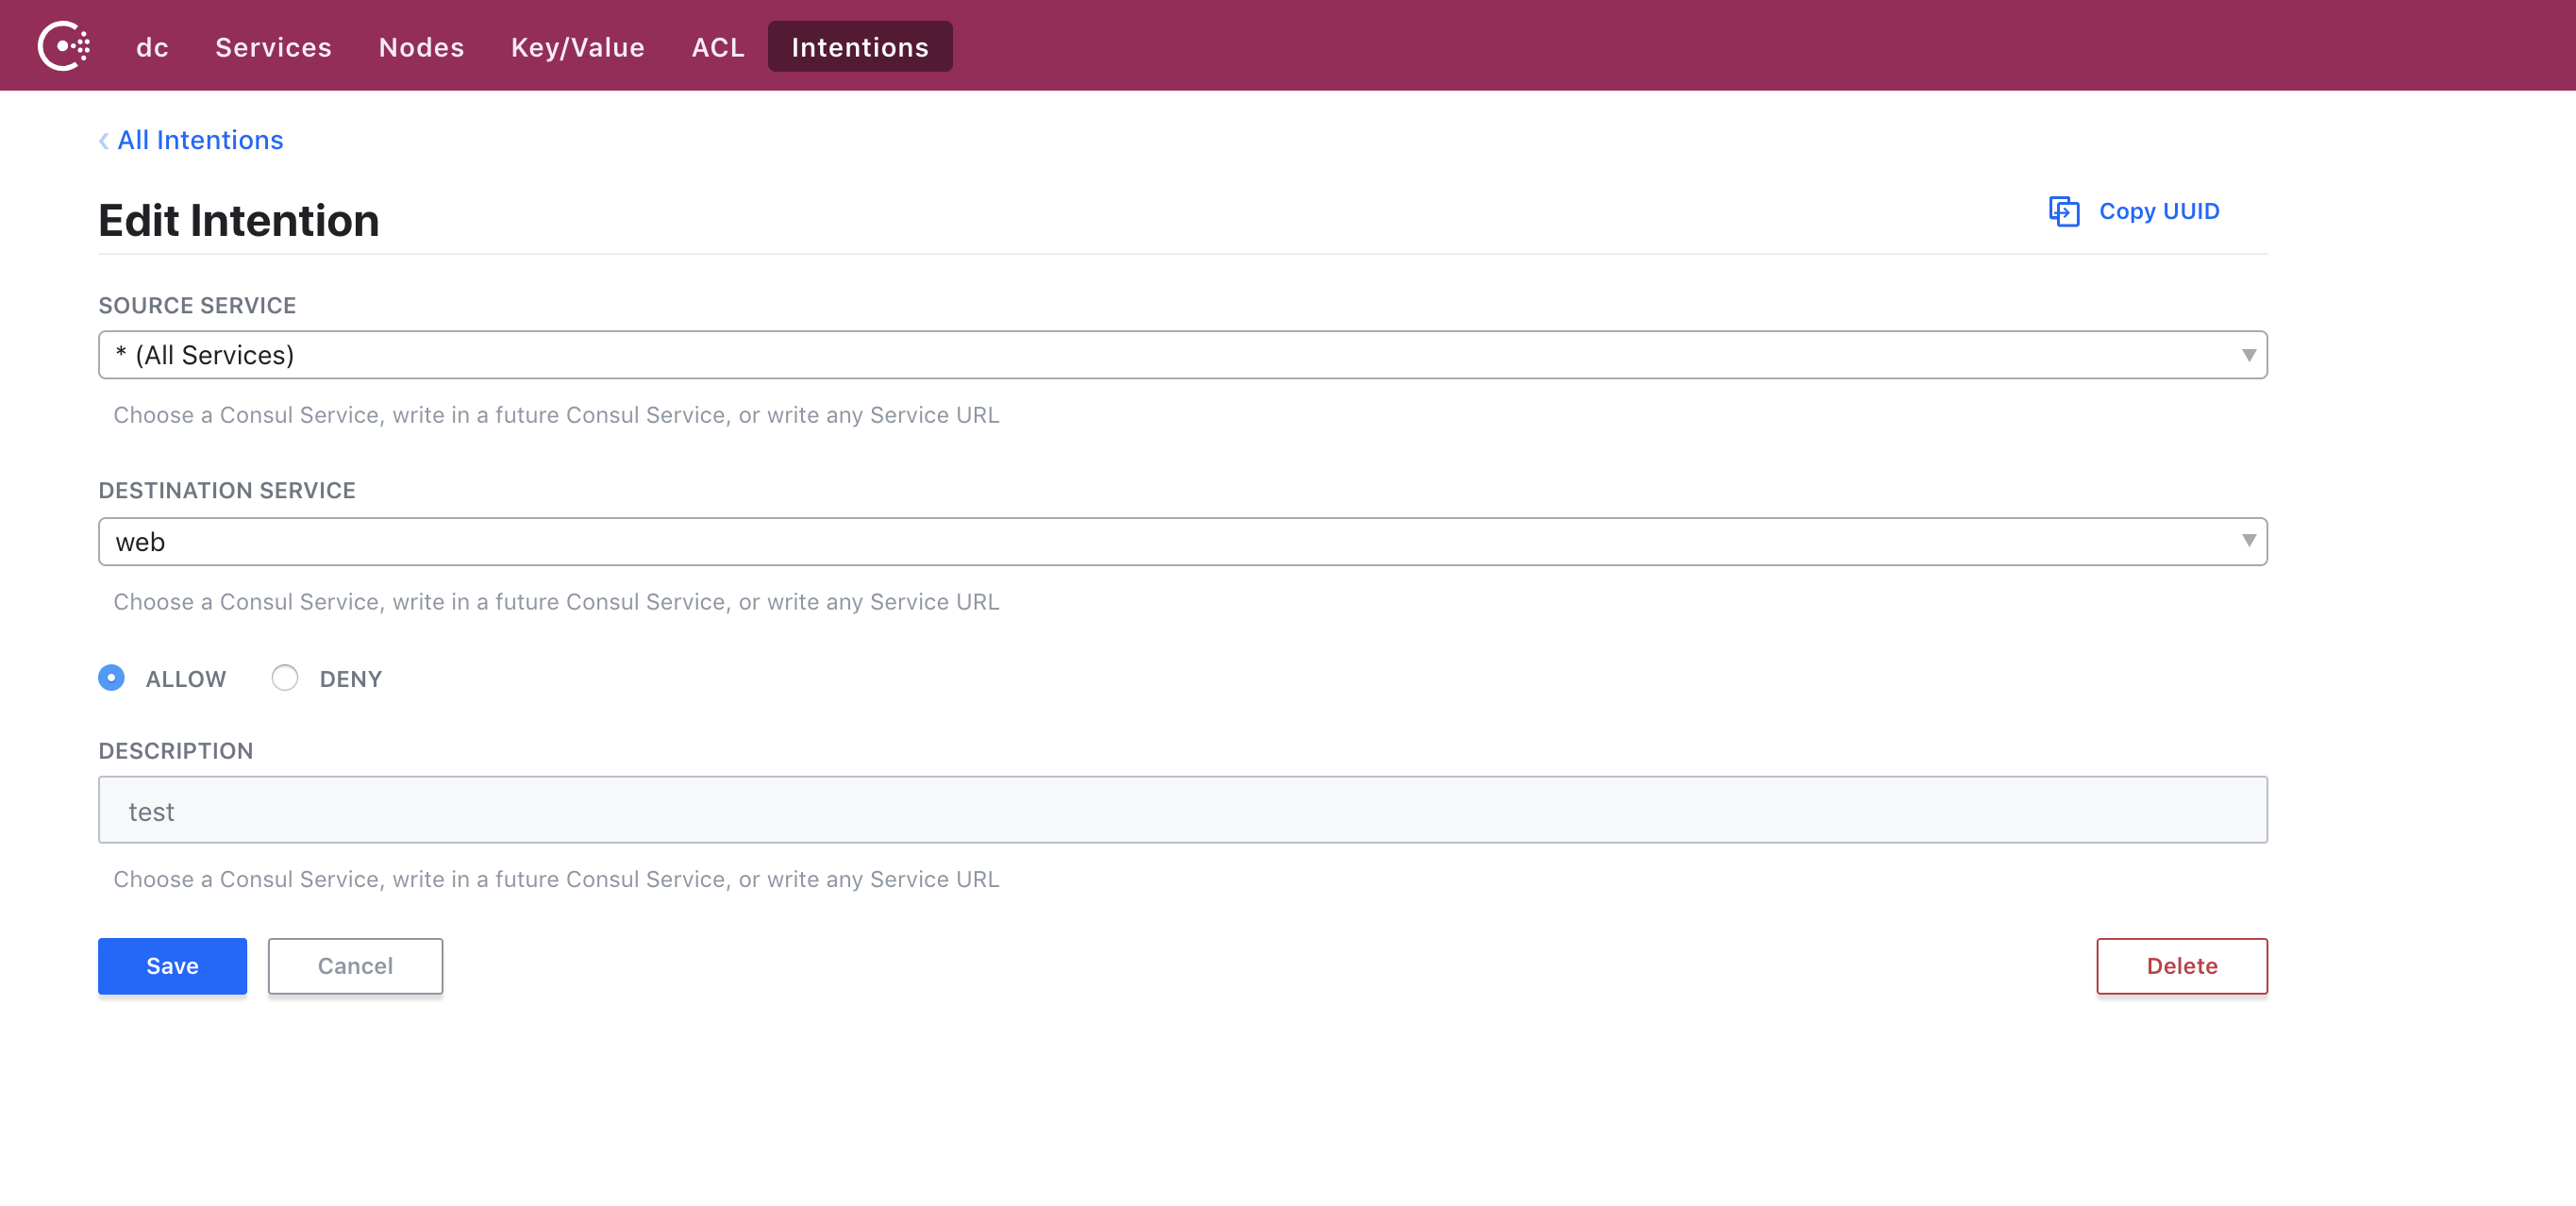
from:https://www.cnblogs.com/cuishuai/p/8194345.html